Fusion Player (Android)
Unboxing/Installing your media player
Once you have received our Fusion Signage Android Player, open the box and remove the media player and components.

What's in the box
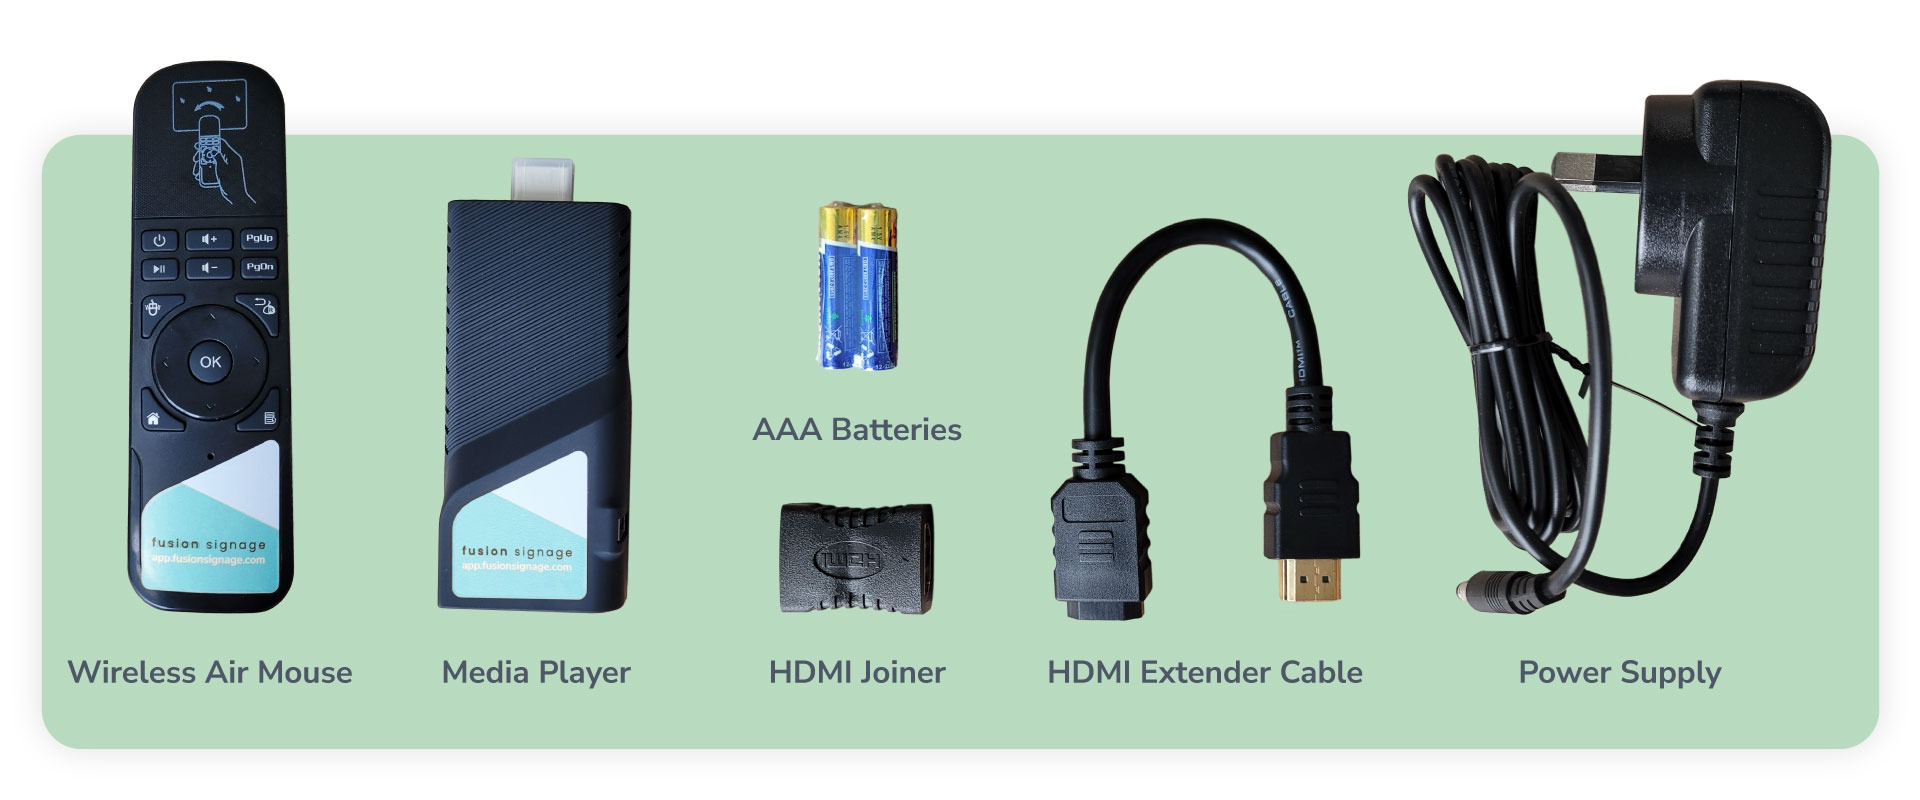
Each player comes with the following:
- Android Media Player
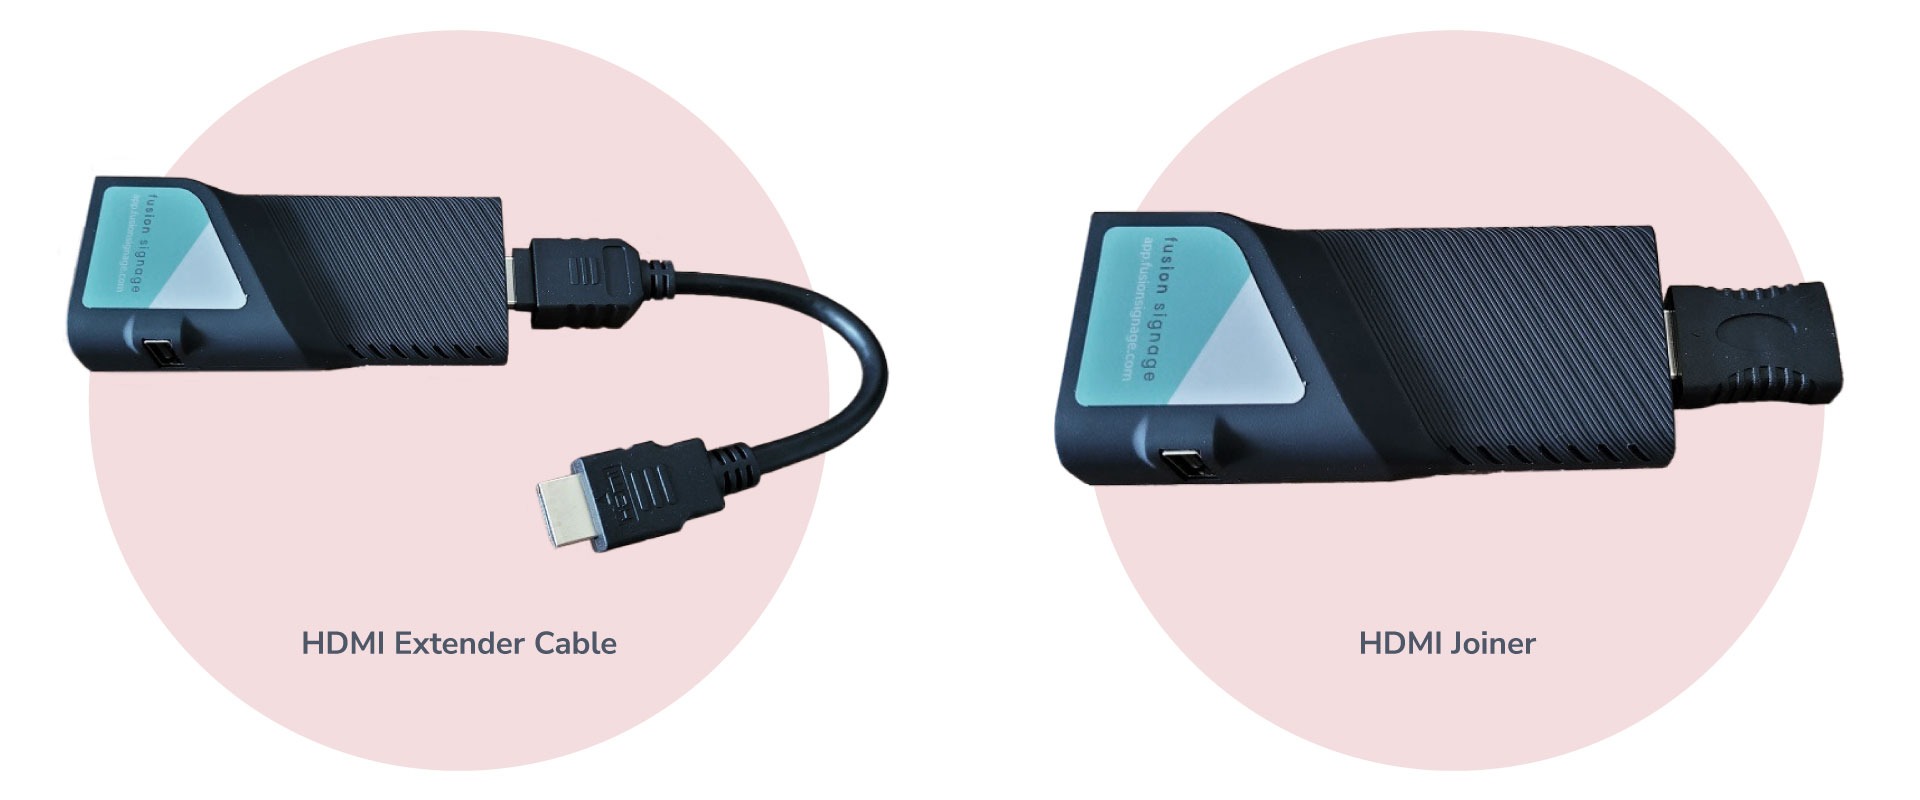
- HDMI Joiner (to connect the player to an existing HDMI cable)
- HDMI Extender Cable (to connect the player to a Screen with minimal space)
- Power Supply
- Wireless Air Mouse (to control the player once it is installed)
- 2 x AAA Batteries (for the Wireless Air Mouse)
Ports and connections
The Media Player has the following connections:
- Ethernet/Network Port (for connecting to your wired network)
- 2 x USB ports
- Power supply input
- HDMI Output (built in)
Setting up the wireless airmouse
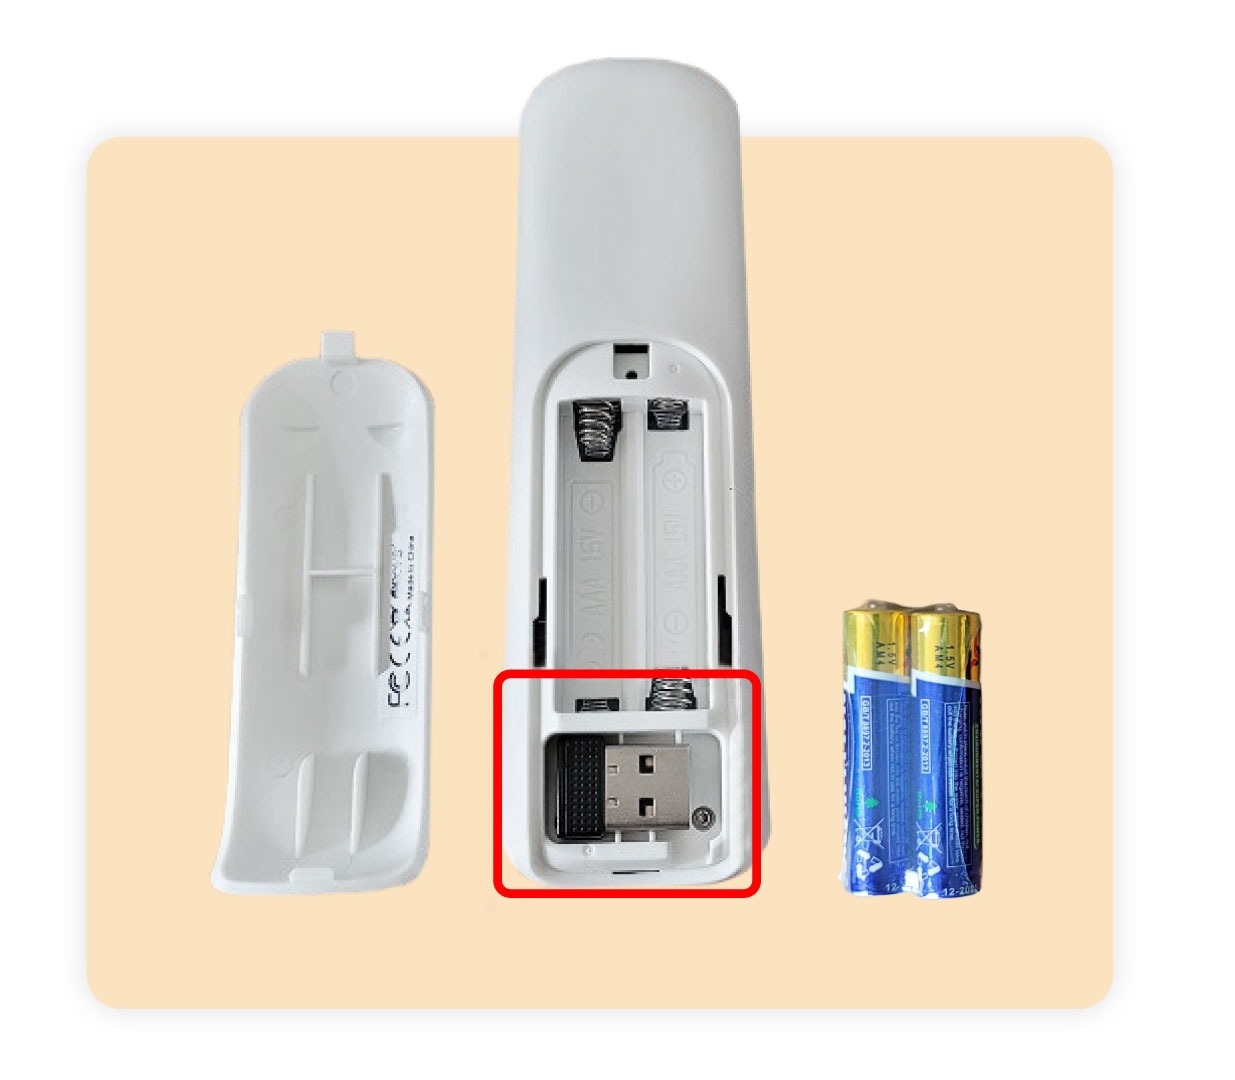
Locate the Wireless Air Mouse, and remove the panel on the back to expose the battery slots and the USB receiver.
- Place the batteries into the remote in the correct orientation
- Remove the USB receiver so it can be connected to your Media Player
- Connect the USB receiver to the Media Player USB slot (there are two available just choose one).
Connect your media player to the screen and wired network
- If required, connect the HDMI Extender Cable, or the HDMI Joiner to the HDMI port on the Media Player, or both.
- Connect the Media Player to your screen, or existing HDMI cable.
Connect media player to the power supply

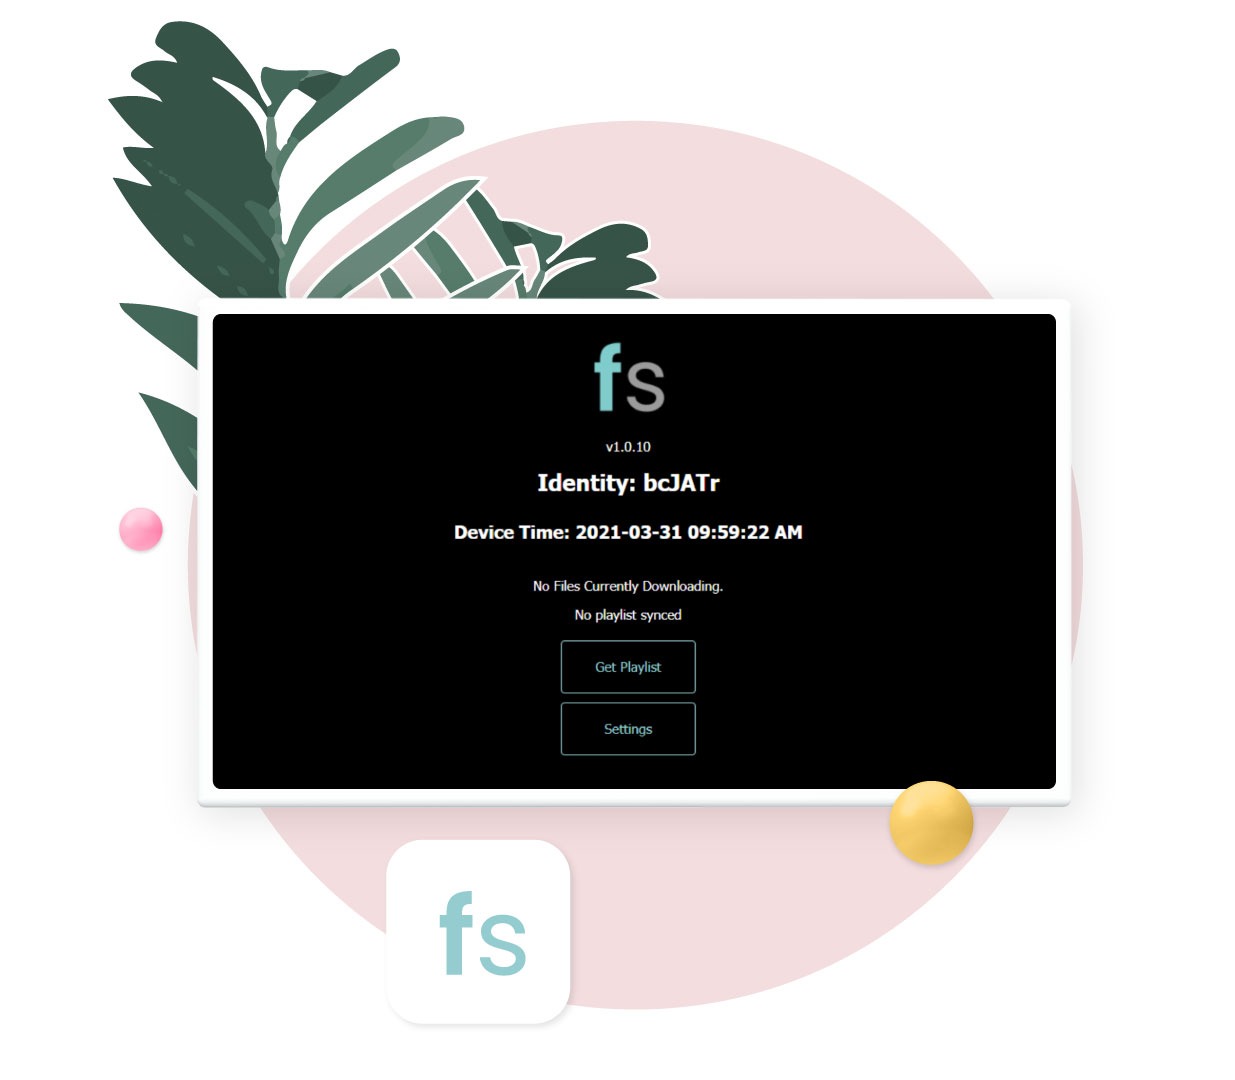
Turn your screen on, and select the HDMI source you connected the Media Player to, and you should see the Fusion Signage application screen ready for the next steps.
Configuring your player
In order for Fusion Signage to show an Identity code, you need to make sure the Media Player is:
- Connected to the internet
- Showing the correct time and date
Connecting to the internet
If you are using an Ethernet/Network Cable, and your network switch is set to DHCP, your Media Player should be connected to the internet already. If not, you may need to check with your Network Admin/IT Department to determine if any specific network settings need to be set.
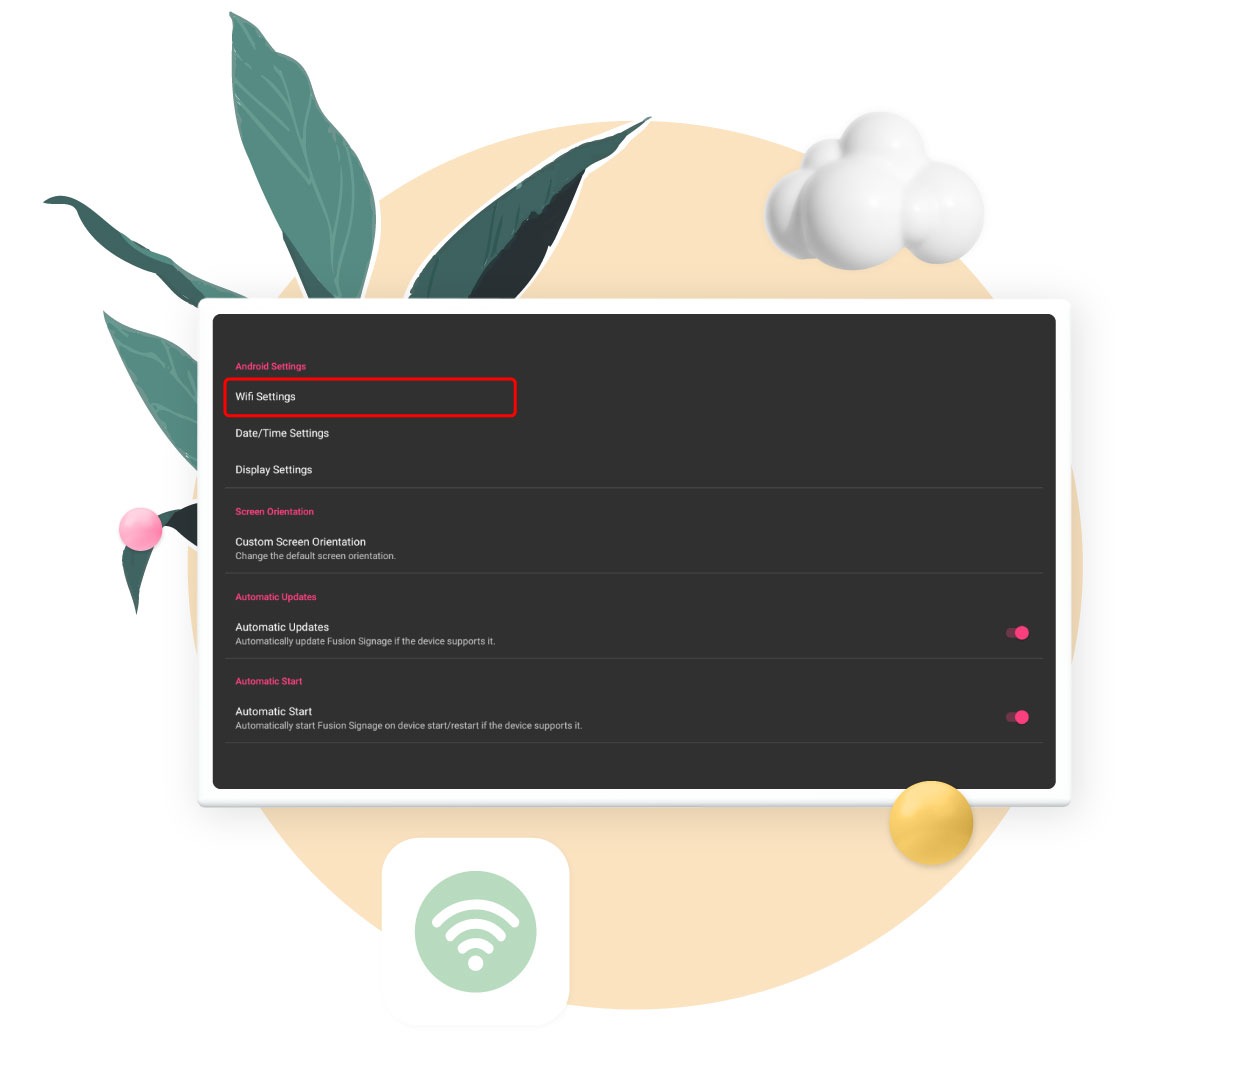
If you are using WiFi, you can set this within the Fusion Signage Application. Click on the Settings button on the screen using your Wireless Air Mouse, and navigate to WiFi Settings:
Connect your Media Player to the right WiFi SSID, and enter the password. Your Media Player should be connected to the internet.
If you are having difficulties with your network, we recommend connecting to your mobile device's wireless hot spot. This will remove any network limitations and confirm that the Media Player is working correctly.
Setting the Date/Time
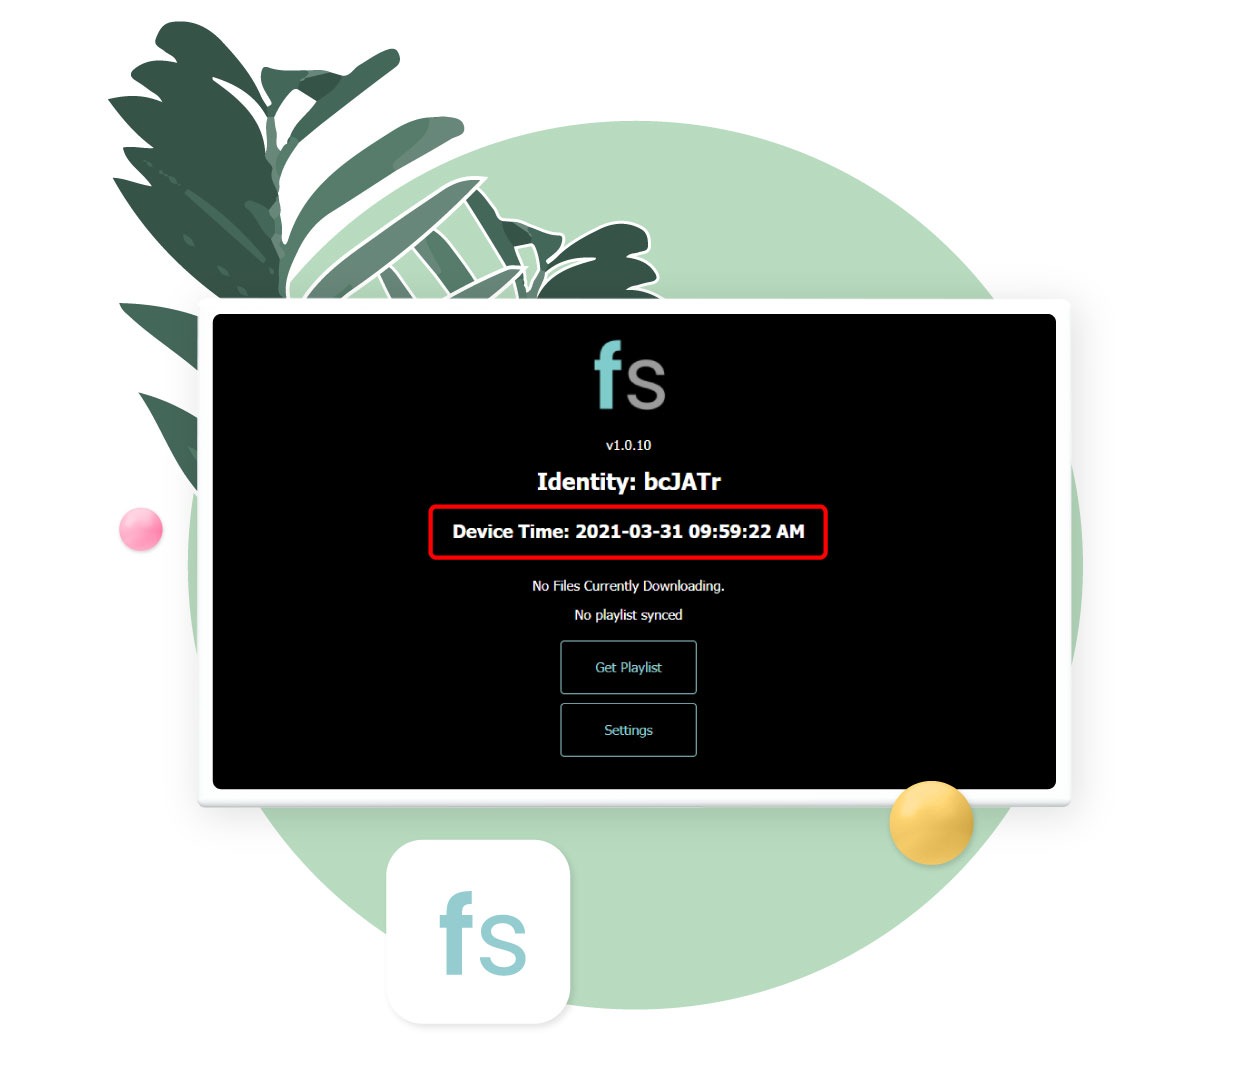
Fusion Signage uses security certificates when connecting a device our servers, this means if there is a discrepancy between the device time and our server time, we will not issue an Identity code.
To check the time and date, you can see this on the Fusion Signage application page
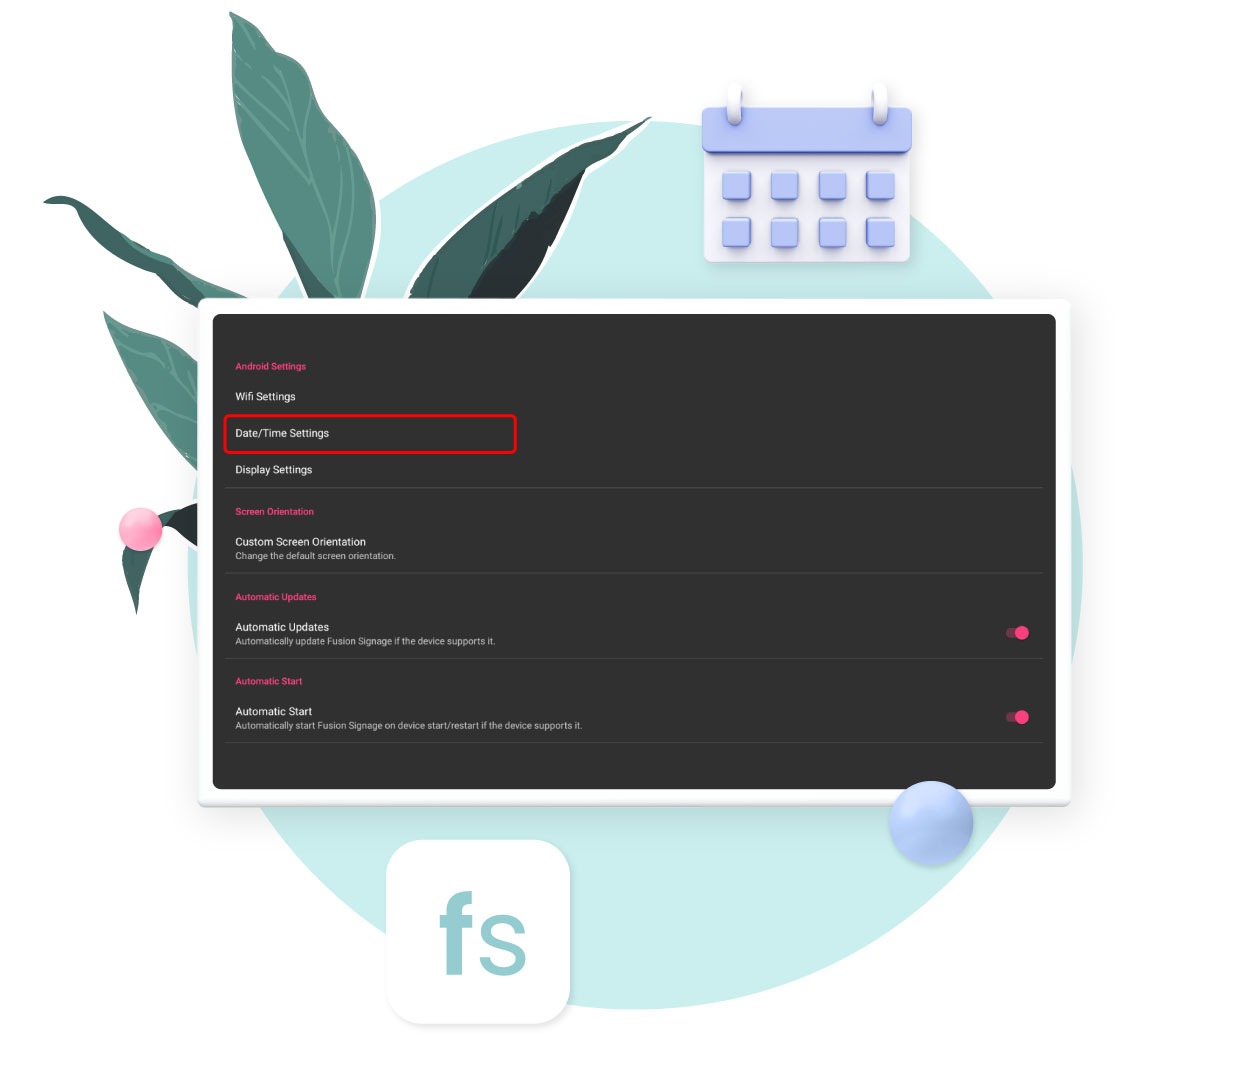
To set the time and date, click on Settings, then on Date/Time Settings. Then choose the correct settings for your location.
Adding the screen to your account
- Log into your Fusion Signage portal at https://app.fusionsignage.com.au/
- Navigate to Deploy
- Click on Add Screen in the top right corner
- On your screen you should see a 5-6 digit Identity, type this into the pop up box that appears, give your screen a name (noted from before), select the available licence, and set the timezone.
- Press Add
- You can now add content to your screen