Overview
Deploy Tutorial Video (1min 16secs)
It’s time to assign your Playlists to Screens and send your content out into the world!
Deploy is another section of your account where you can assign Playlists to Screens. Here you can use or replace your previously uploaded playlists to send new content live.
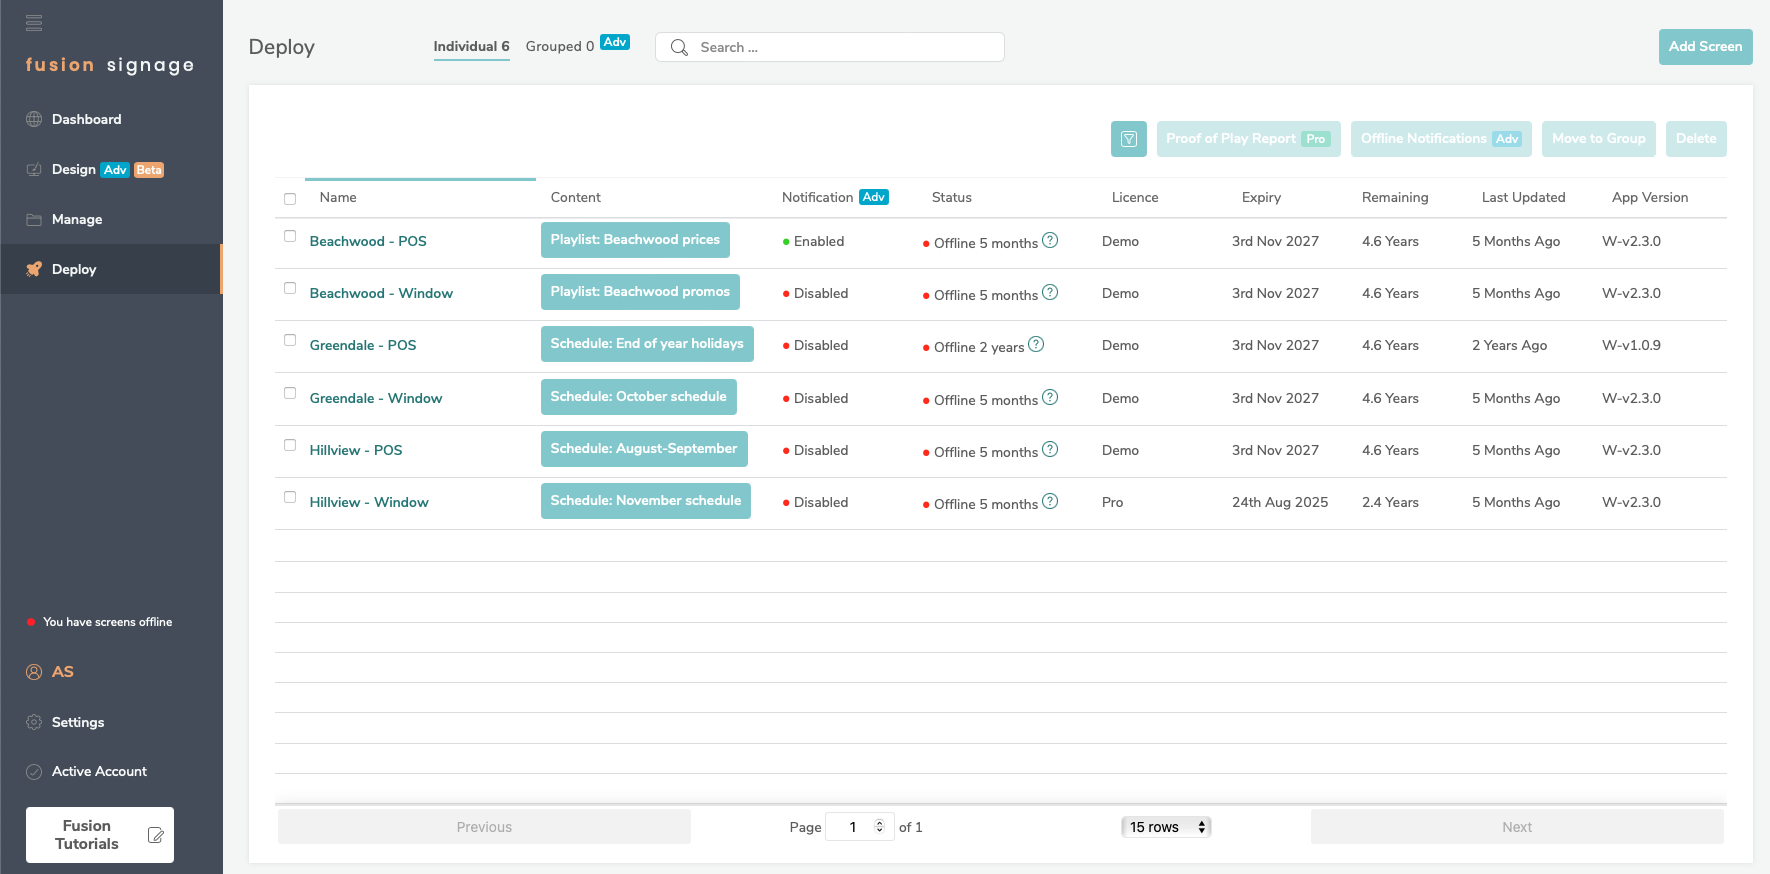
The Deploy section is where you can see and manage all the Screens and media players on your network.
Each Screen has its own unique identity code, licence and name. Click on a screen name to see its details, as well as the active Playlist.
Depending on your licence type, you’ll see either one or two tabs at the top. Basic licence users will see the ‘Individual’ tab, and Advanced licence users will see ‘Grouped’ as well. We’ll get to ‘Grouped’ in a moment.
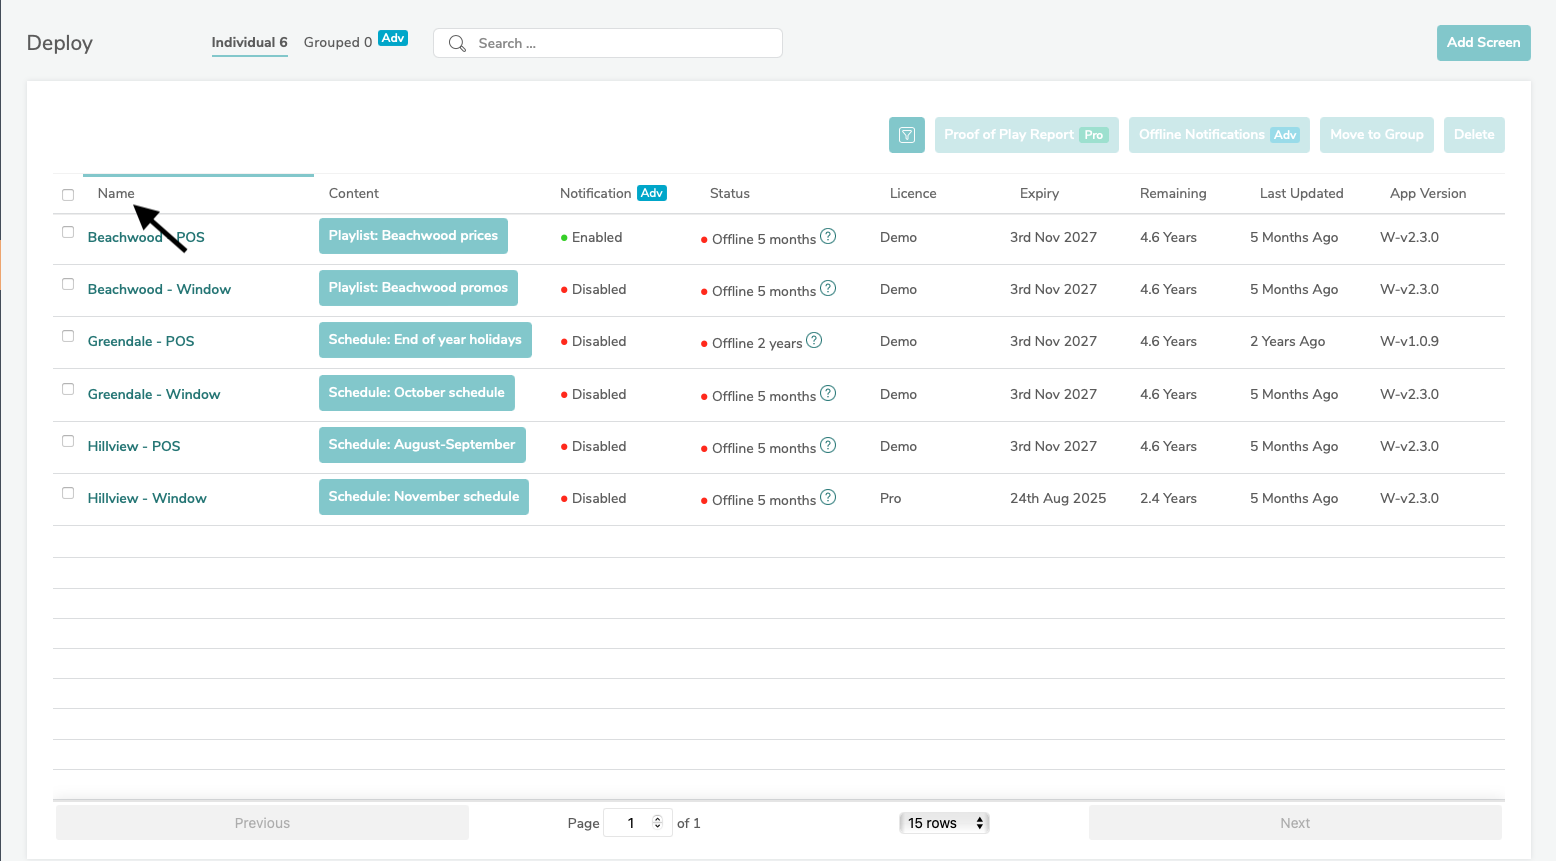
The ‘Individual’ tab shows a list of all the Screens in your network. From here, you can update and schedule your content, check whether a Screen is online, see when content was last sent to the Screen, and find out the application version it’s running.
Search for a Screen
There’s a handy search bar at the top of your portal that allows you to quickly find a Screen within this list. If you have a lot of Screens, you may need to cycle pages at the bottom or show more rows on this page.
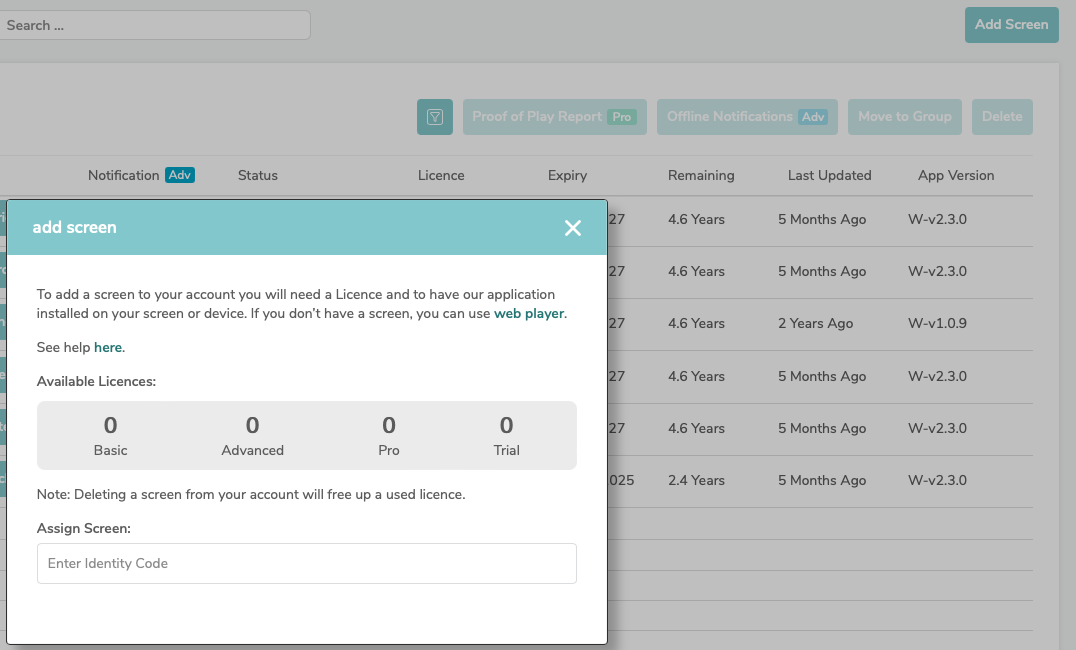
Add a Screen
To add another Screen to your account, click the Add Screen button in the top corner. Once you have the Fusion Signage application installed on your device, and it’s connected to the internet, you'll receive a 5-digit identifier on the Screen. Simply add this identifier, give your Screen a memorable name (like counter or store window), select an available licence and tap Add Screens. For a more in-depth guide, click here.
Update your Content
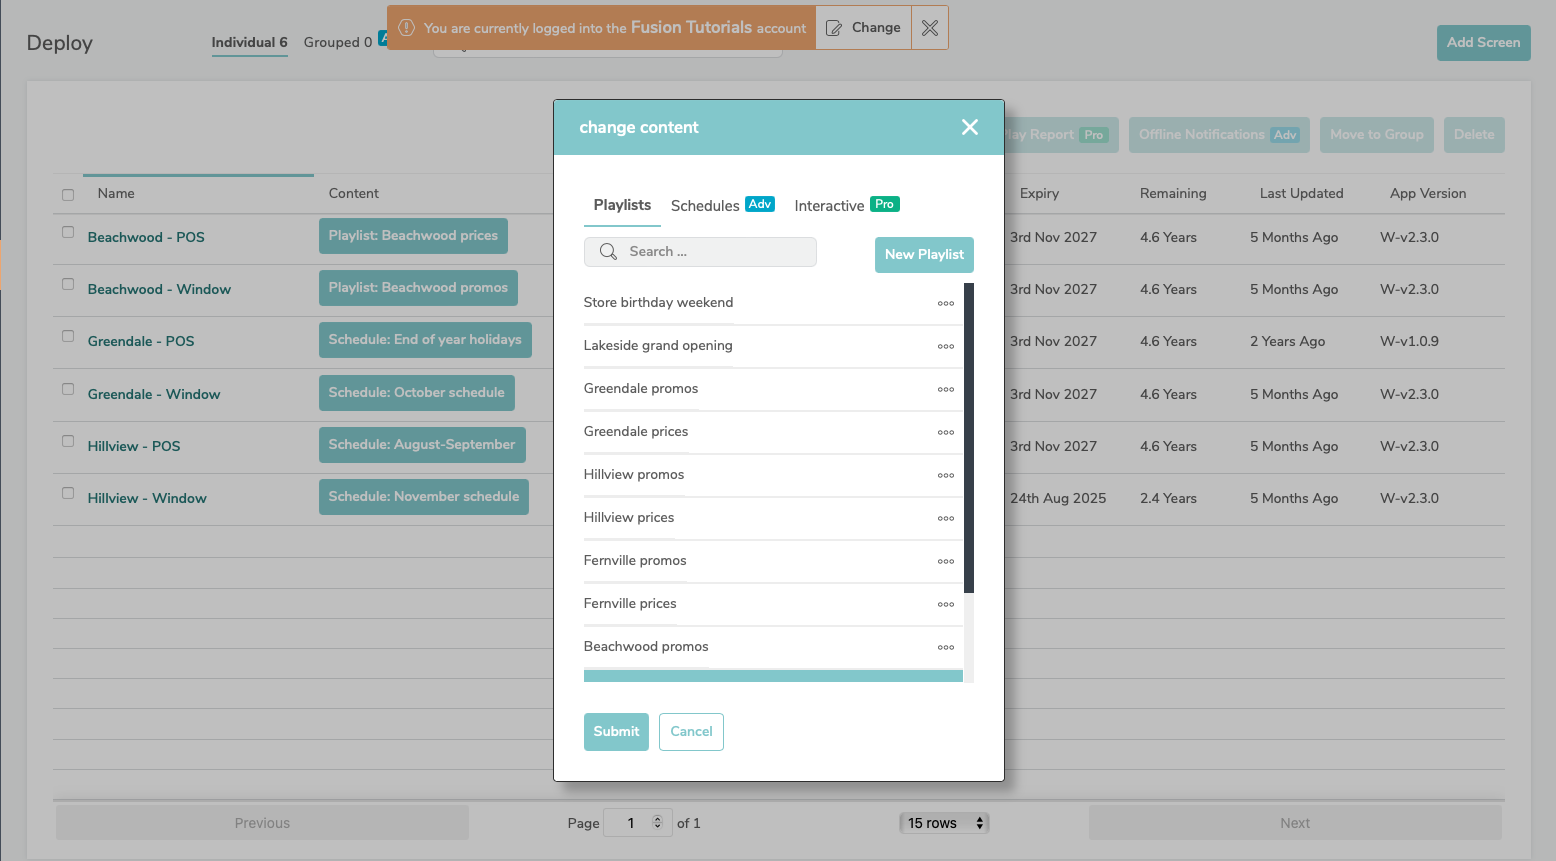
The Screens page is where you can update the content on your Screens and see whether they’re online. If you already have your content uploaded, and a Playlist set up, updating the content on your Screen is as simple as clicking the teal button next to your screen name and selecting your chosen Playlist. Once you’re ready, click submit and the content will be sent to the Screen.

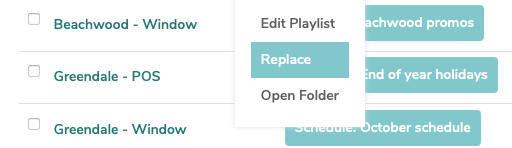
If there’s already content assigned to your Screen, you can change it using the same teal button and by clicking Replace. Then, select the new content you’d like to display.
Advanced users have an additional tab at the top here for Schedules, and Pro users have one more labelled Interactive. These templates allow you to manage touch screen deployments. Each template is built for your needs, so get in touch with us at support@fusionsignage.com.au or through your Reseller if you’d like more information.
Functions Explained
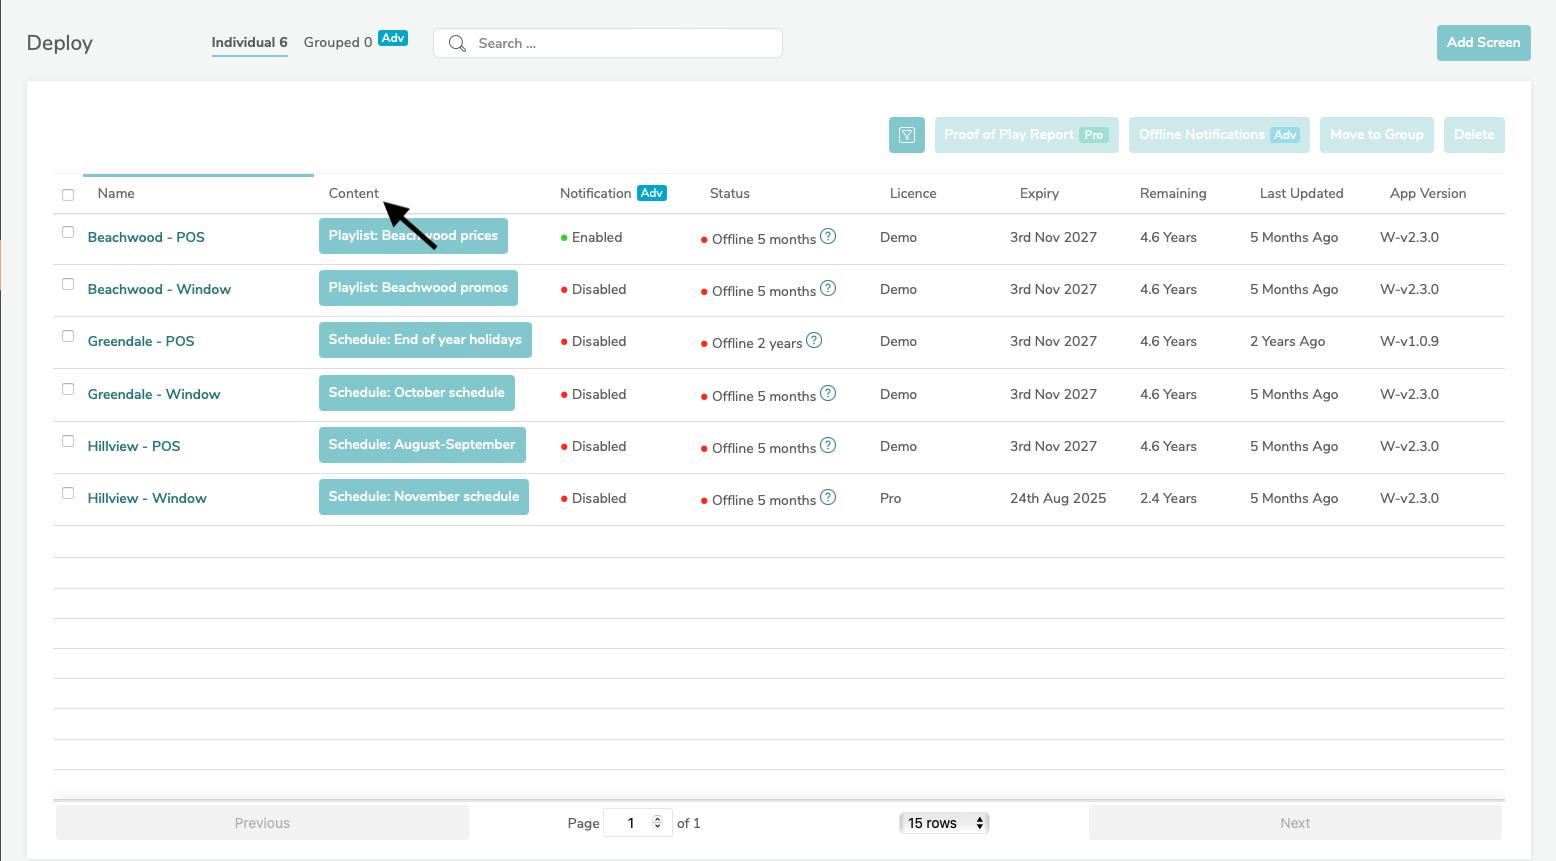
Here's a detailed list of the different columns from left to right.
- Checkbox squares - cute squares to click and select Screens Select individual, multiple, or all Screens in order, to move or edit them
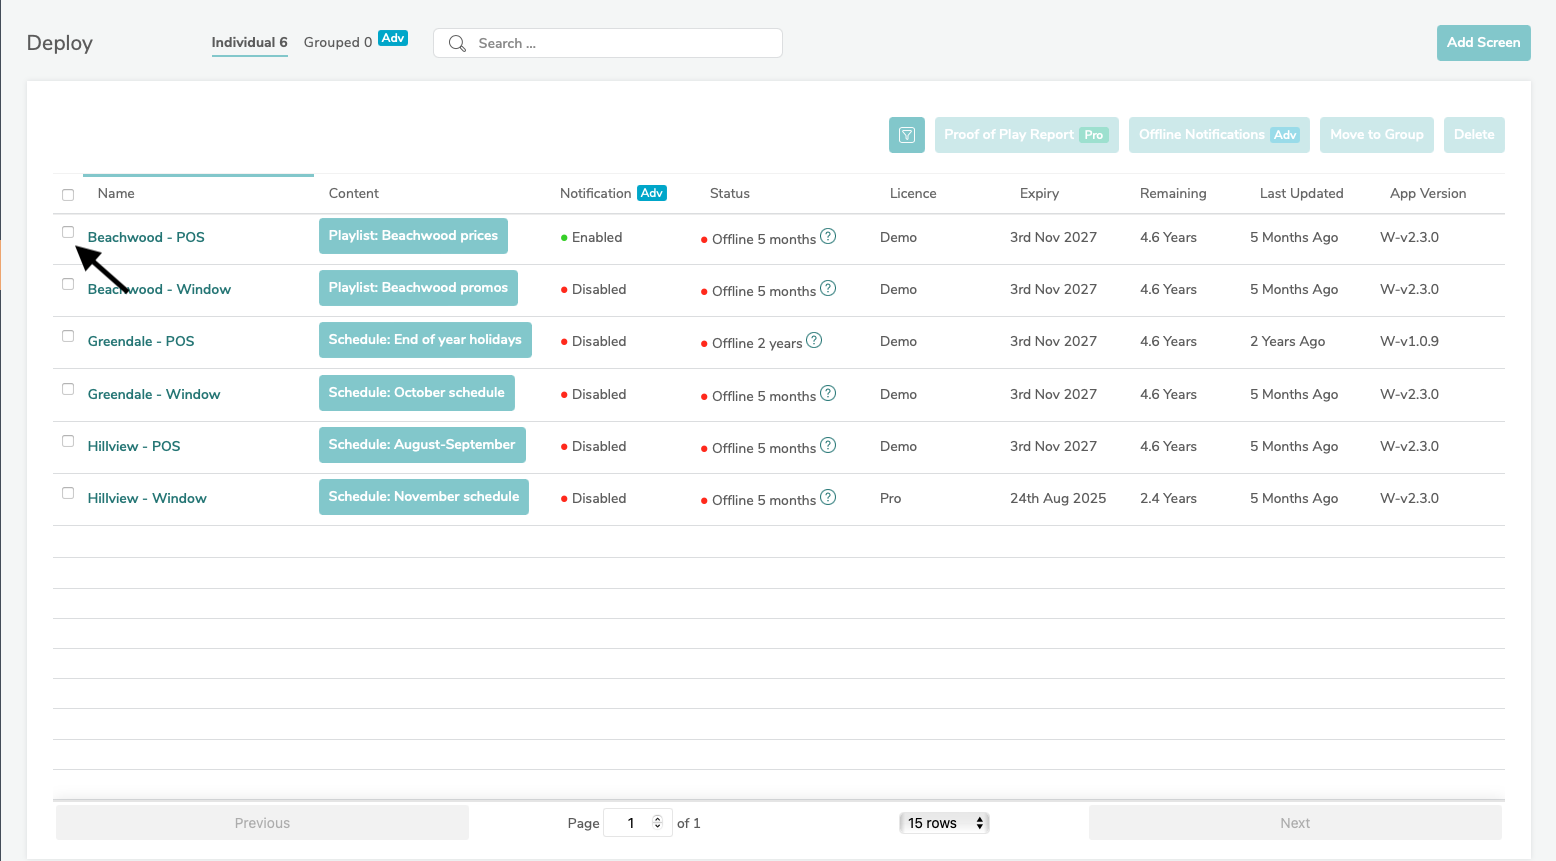
- Name - displays the name of each Screen Click on the name of a screen to see additional information and if you like, rename it
- Content - shows current content displaying on the Screen Content must be in a Playlist or a Scheduled Playlist to be displayed on a Screen
- Notifications (advanced users only - alerts you when Screen/s go offline Toggle email notifications to set the period of offline time you’d like to be notified about and when. Click Disabled/Enabled for the Screen/s you wish to be notified about.
When notifications are enabled for specific times, you’ll skip being notified at times when your Screen is meant to be offline (like when you’ve closed for the day and its turned off). Select ‘Load Settings from Screen’ from the dropdown box to apply notificationsettings you’ve already set up.
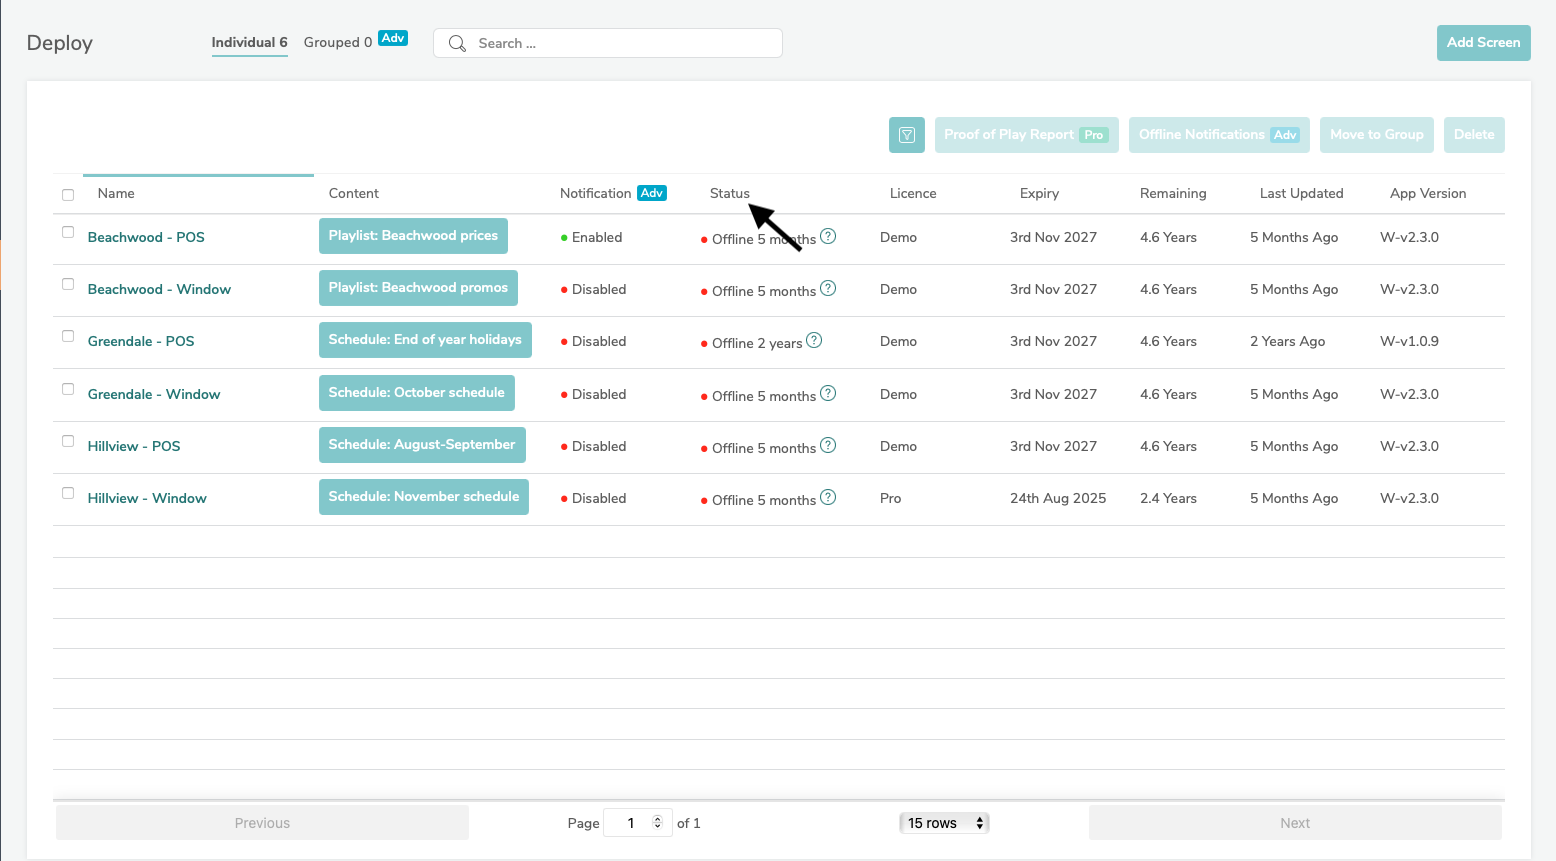
- Status - displays that your Screen is online/offline and if offline, for how long Click the Status of a specific Screen to access some nifty graphs created with your collated Screen data. See a more detailed explanation here.
- Licence – shows you which licence type you have for each Screen Your licence type affects which features you have access to
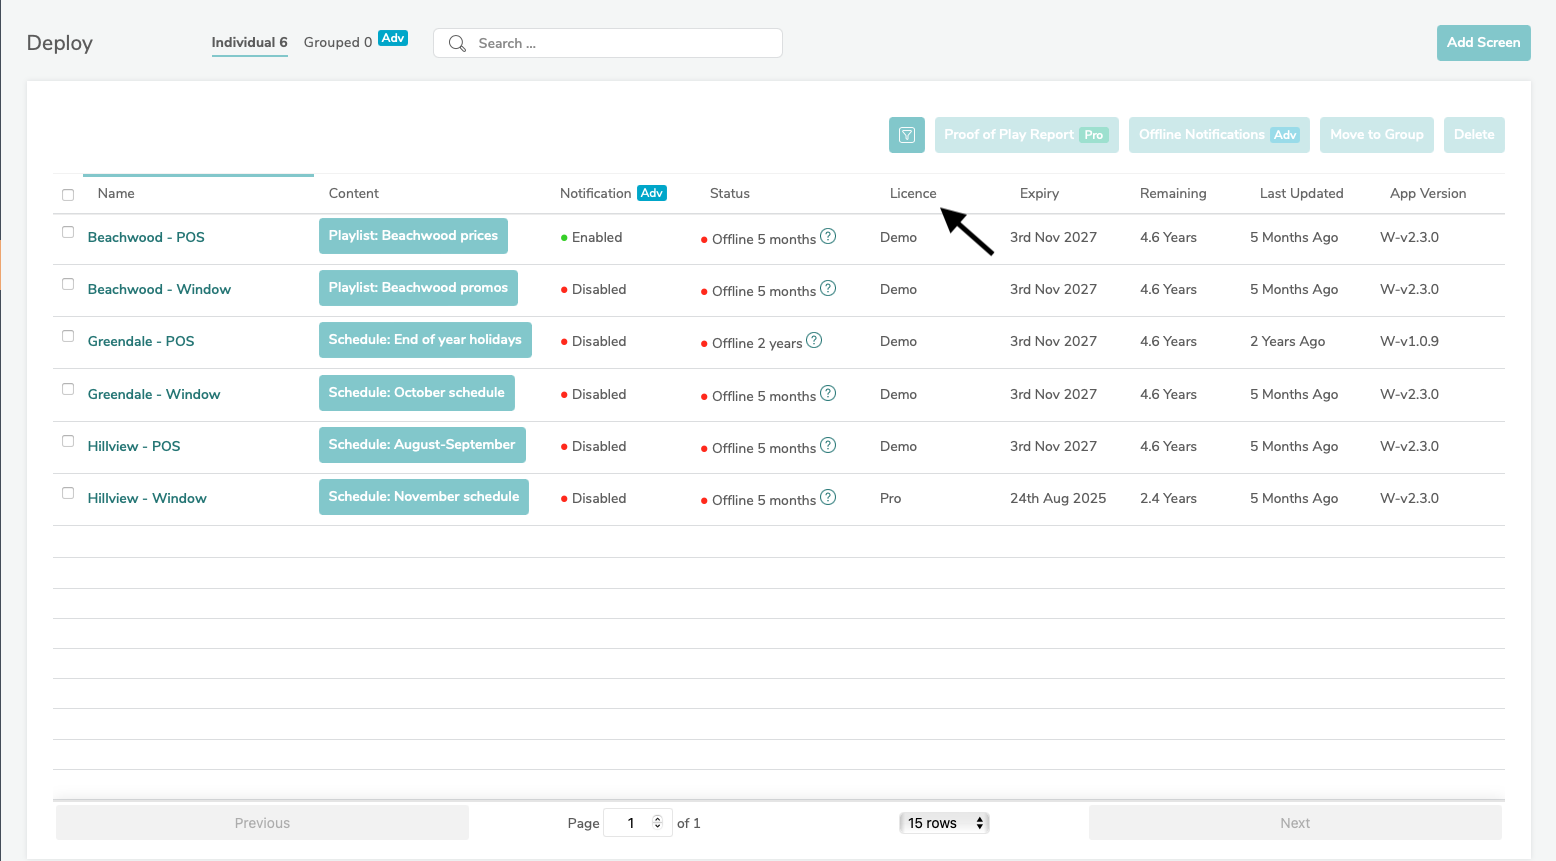
- Expiry – shows you the date your licence is due to expire Want to renew your licence? Easy! Get in touch with your Reseller or contact us at support@fusionsignage.com.au
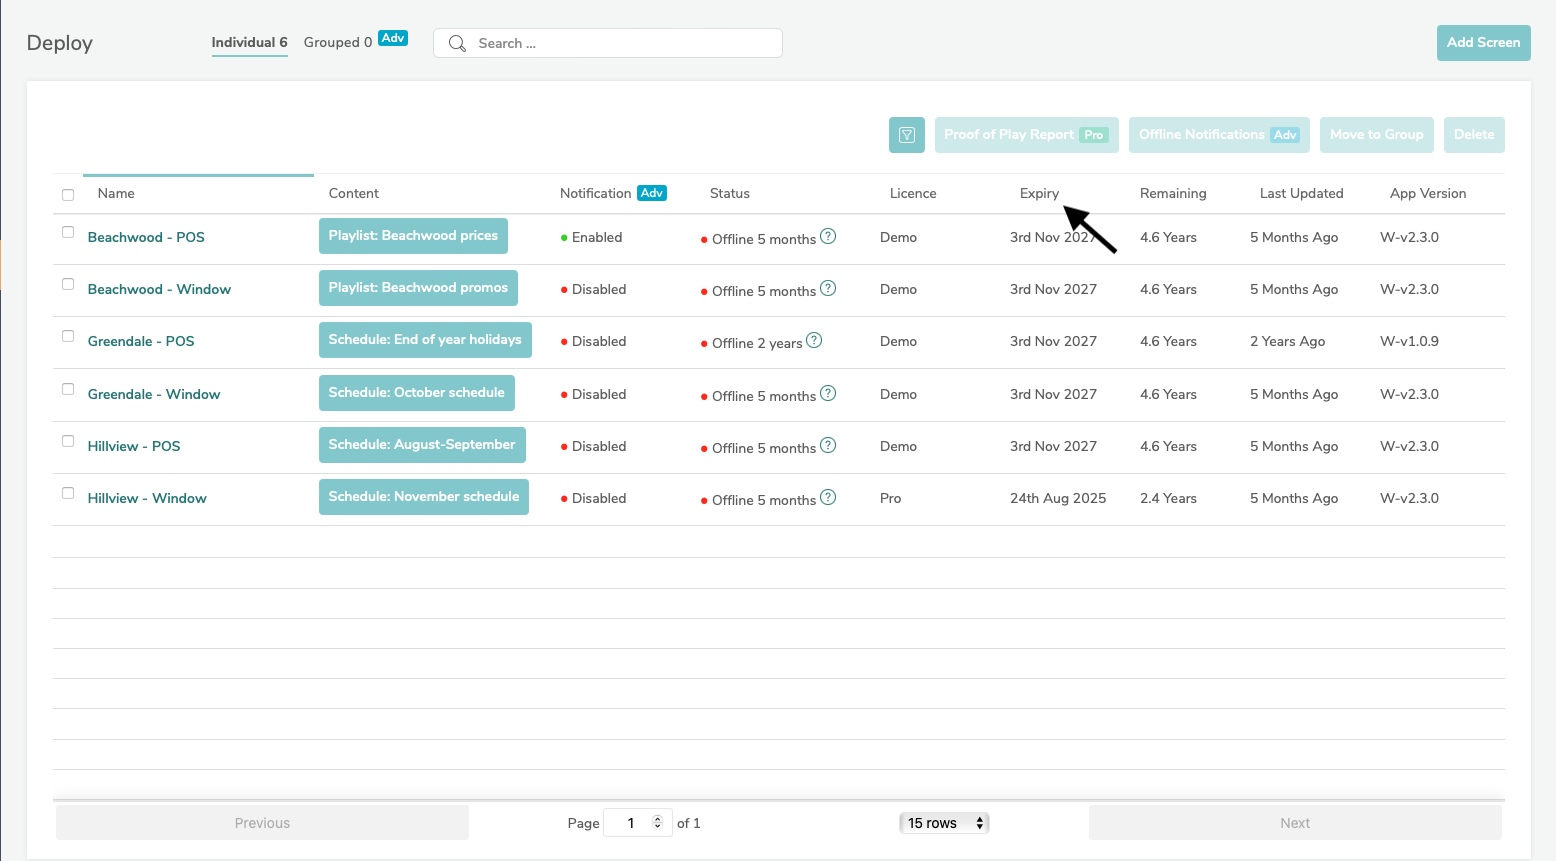
- Remaining - shows you how long until the licence expires
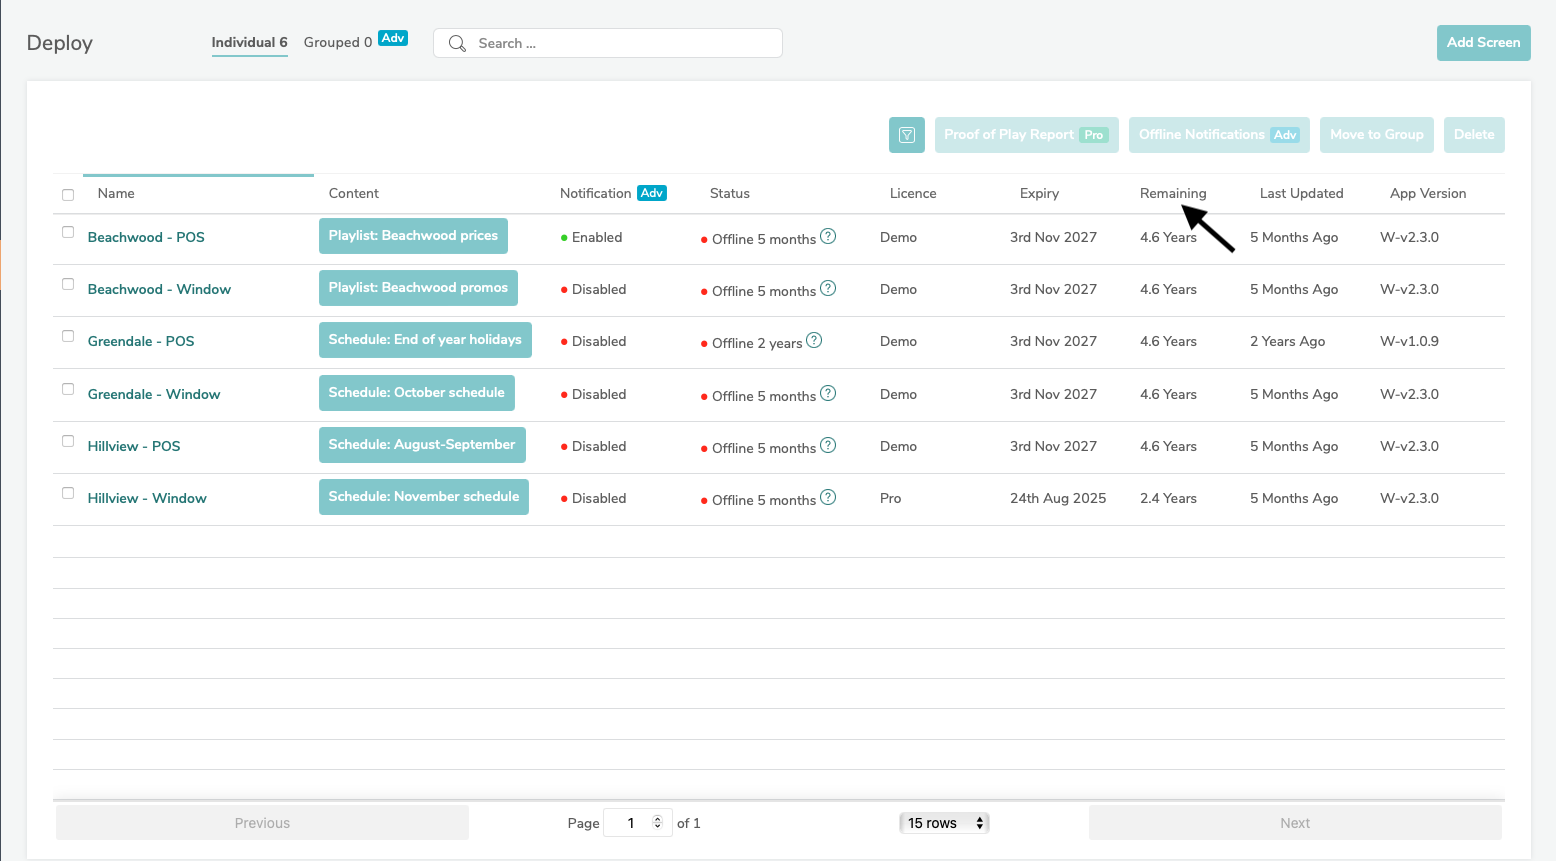
- Last Updated – tells you when the Screen’s content was last updated This includes when a Playlist or Schedule has been changed or removed from the Screen.
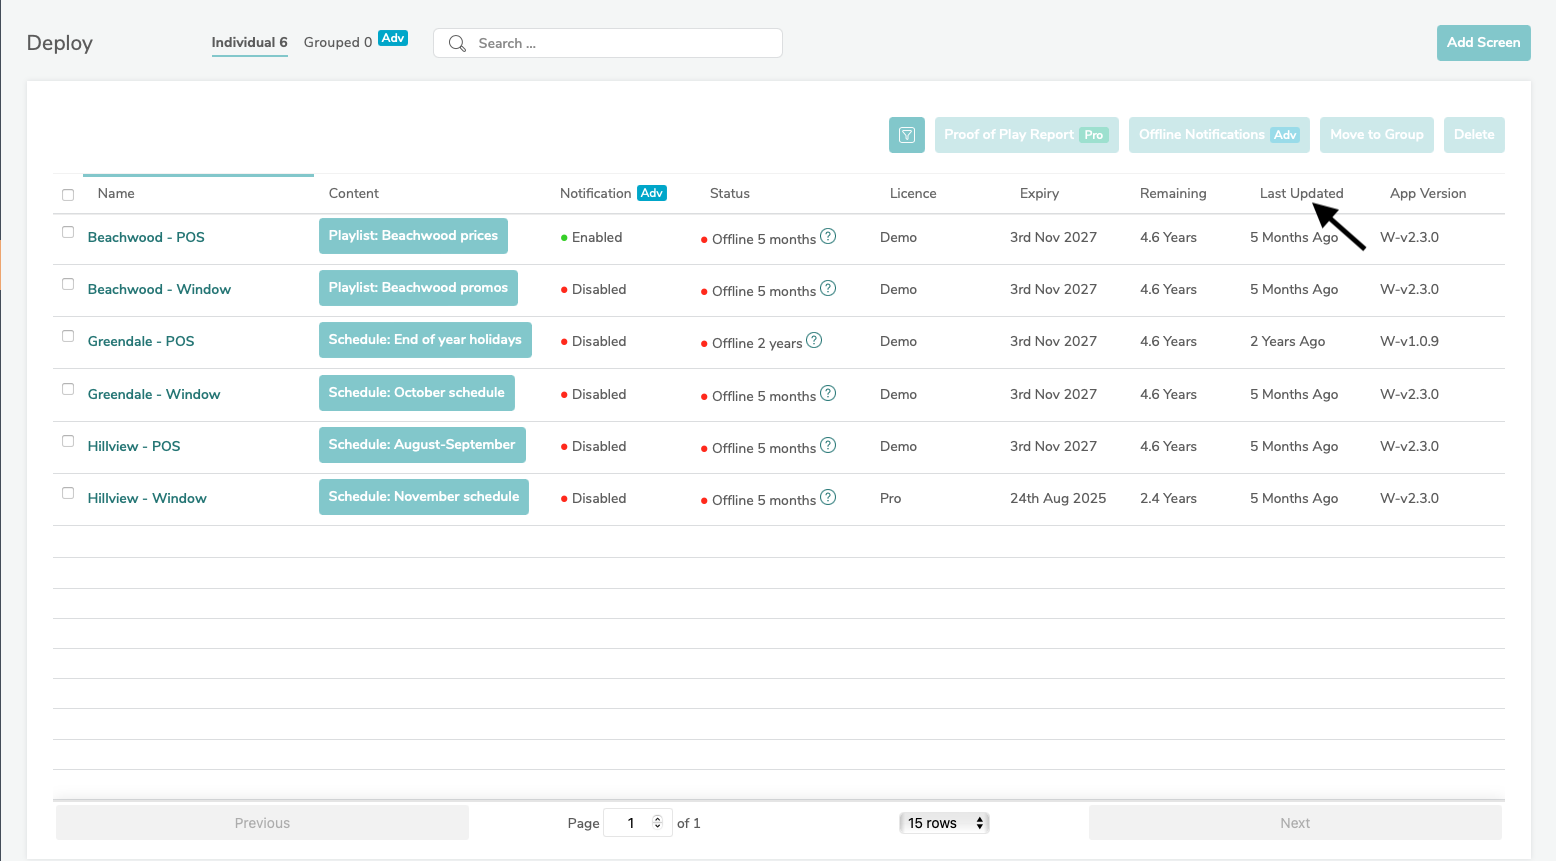
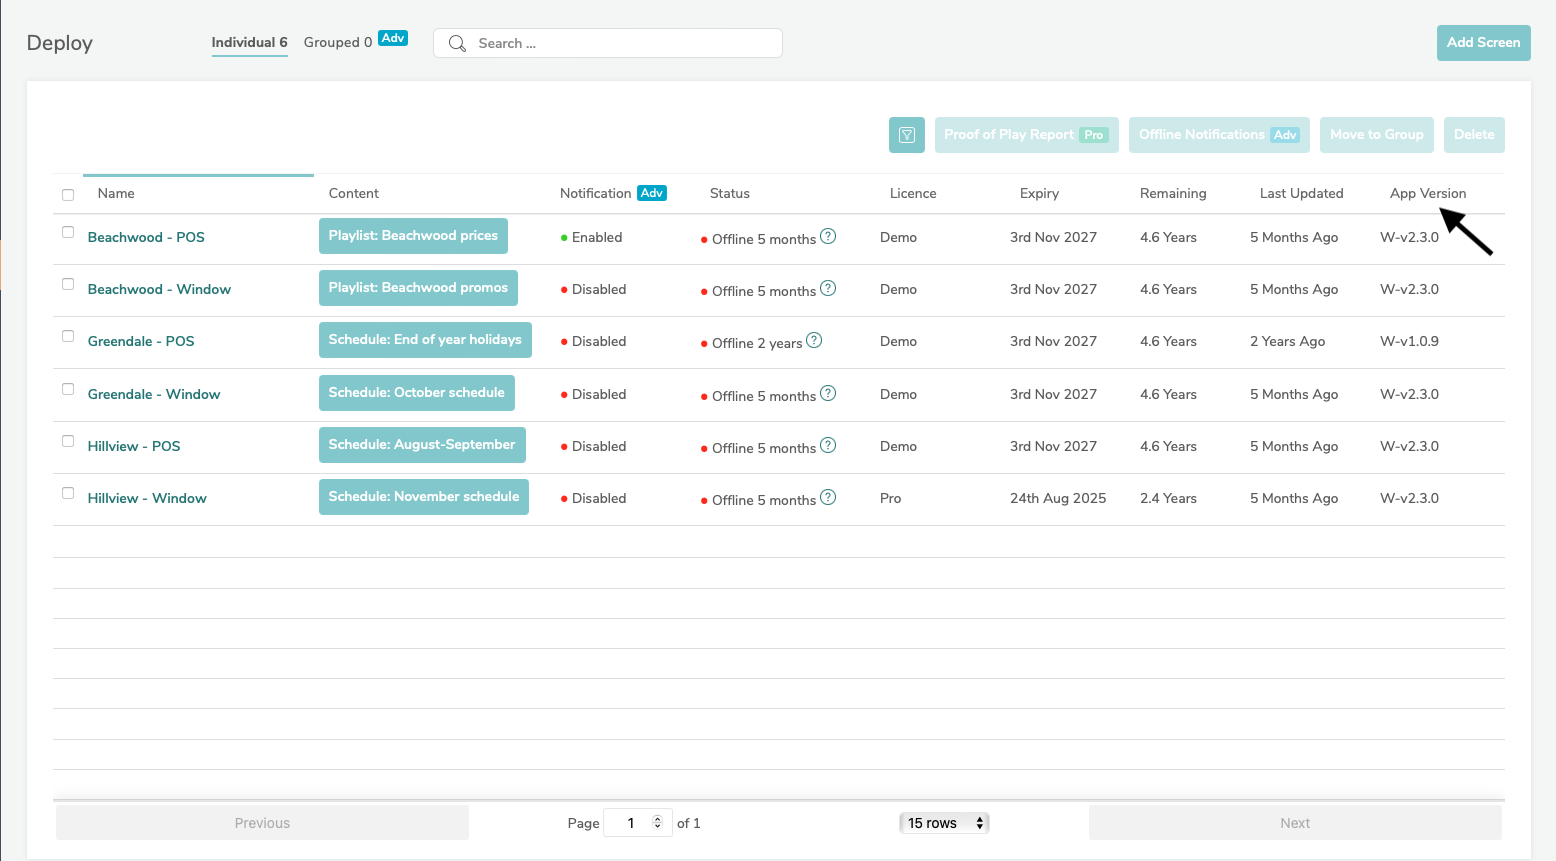
- App Version – shows you which version of the Fusion Signage application is currently running on that Screen.
Screen Grouping
Advanced licence holders will have access to ‘Grouping’, which is the fastest way to update any number of Screens with the same content at one time.
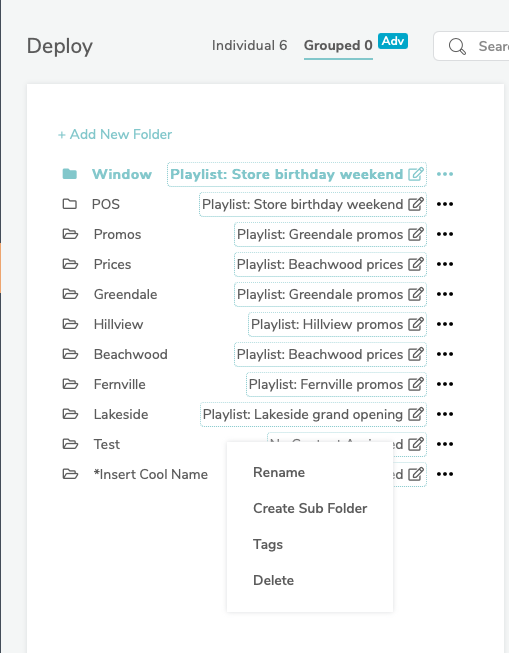
If you’d like to create a new Group, simply click Add New Folder and give that folder a name.

Click on the 3-dot menu next to your folder to Rename, Create a Sub Folder and Delete.
To add a Screen to your group, navigate to the ‘Individual’ tab, hit the check box next to the Screen/s you'd like to move, and click ‘Move to Group’. Find the Group you’d like to add the Screen to, and hit submit.
By creating a Sub-Group, you’ll be able to easily assign the same content to multiple Screens. Updating content is as simple as finding the group or sub-group, then clicking the content allocated to select a Playlist or Schedule.
Other Options: Move, Add and Delete
If you’d like to move a Screen, select its checkbox and either move the screen to Individual or a Group. You can also Delete and Add Screens using these buttons.
Don’t delete a Screen unless you have permission, as the deleted Screen will be removed from your account.