Overview
Ahh the Manage section. Your go-to place to add, view and organise Media, Playlists and Schedules!
So what are these cheeky functions?
Manage Tutorial (5min 25secs)
Media are the images, videos, websites, designs or templates that you want to display on your screen.
Playlists contain your selected media (or even other playlists. Playlist inception!)
Schedules allow you to set the time of day or day of the week that your playlists will be played.
Use the search bar at the top of the screen to find a specific item by searching for the name, or filter based on item type with the Media, Playlist and Schedule tabs next to the search bar.

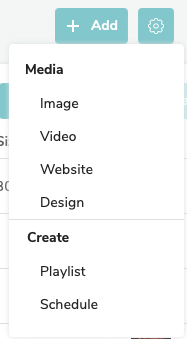
Next to the filter tabs are the Add button and the Default Settings button.
Here’s what they do!
- Add is where you can add your already-created Media, which can be in the form of an Image, Video, Website or Design. You can also create new Playlists and Schedules here. So cool.
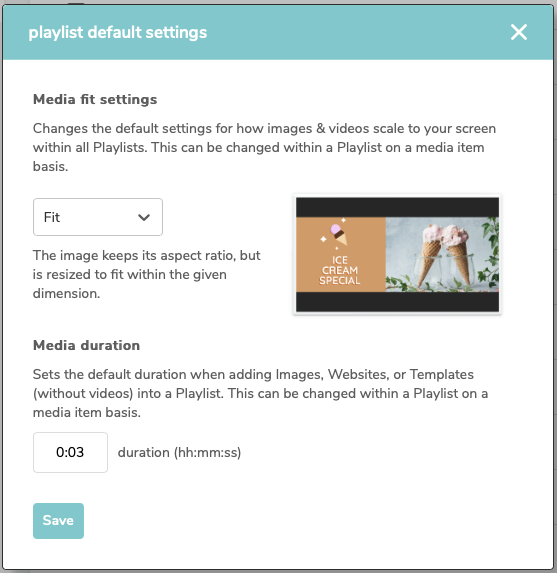
- Default Settings allow you to customise the settings you want your Media to automatically default to in your Playlists. Here, you can change how images and videos scale to your screen (Fit, Fill or Stretch) and change the default duration that media (like images, websites or templates) appears in Playlists.
- This will apply the default settings across all of your Playlists, but you'll still be able to edit your Playlists on a media item basis.
Folders
Find the Folders section on the left of the Manage portal. Here, you can search for a specific folder and add a new folder. The contents of the selected folder will be displayed on the right of your portal.
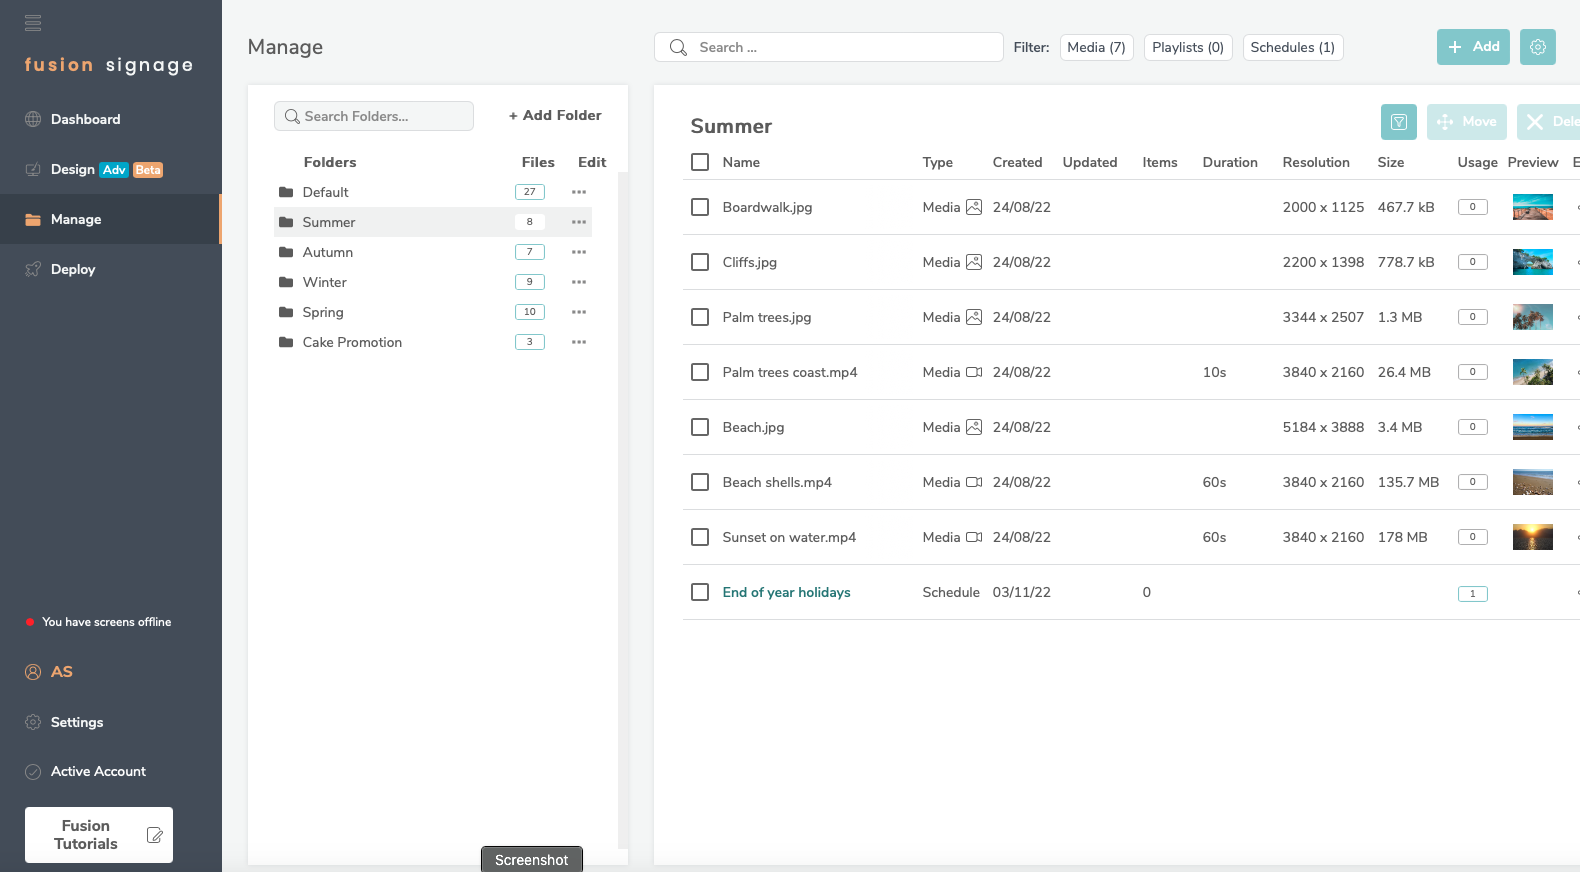
Column Overview
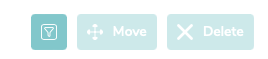
Once you’re inside a folder, its contents show on the right in columns. At the top, you’ll see three tabs (one a darker teal, and a Move and a Delete tab which are a lighter ‘greyed out’ colour). The first tab allows you to toggle which columns are visible, so you only see what’s important to you. When you have an item selected, the Move and Delete tabs will become clickable, allowing you to move or delete that item.
Now, onto what the specific columns mean and do!
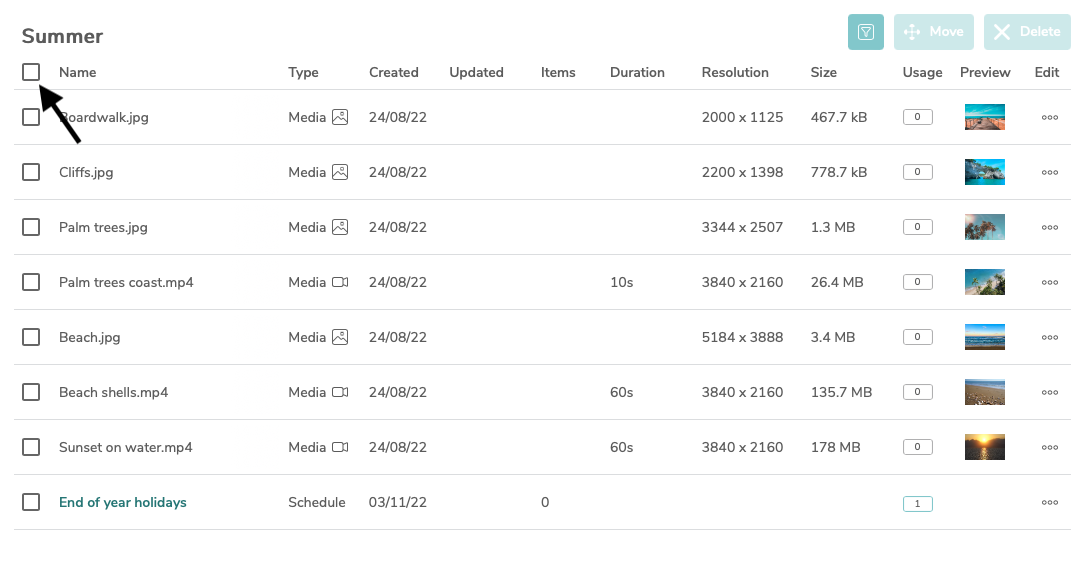
Square Checkbox
- this allows you to select the item you want to interact with. You can either select individual items by clicking the box to the side of the item, or select all items in the folder by clicking the top box. Did you just become a master of efficiency? Yep!
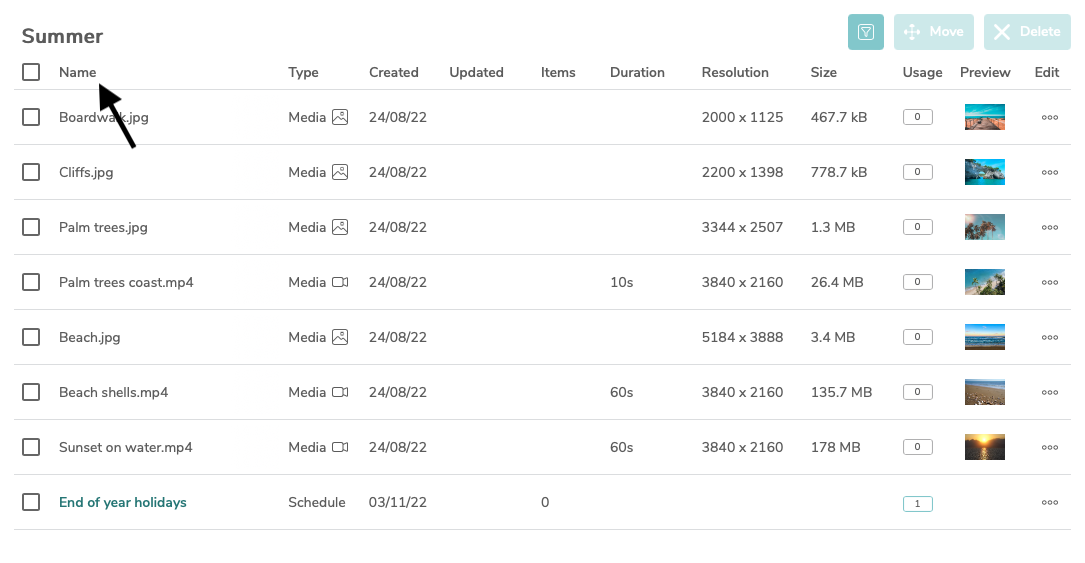
Name
- this displays the name that the item is saved as
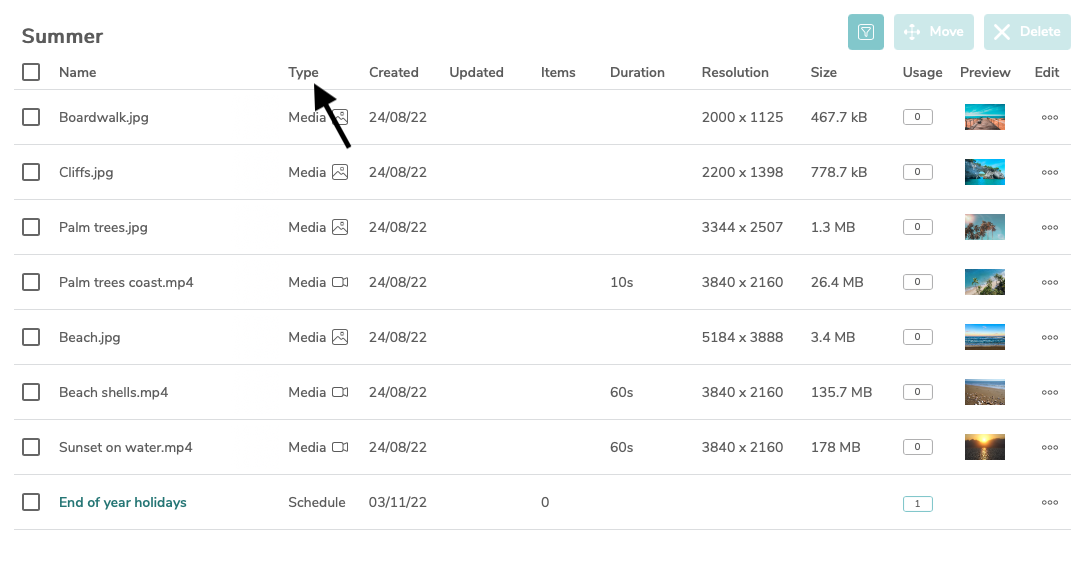
Type
- this shows you whether the item is a piece of Media, a Playlist, or a Schedule
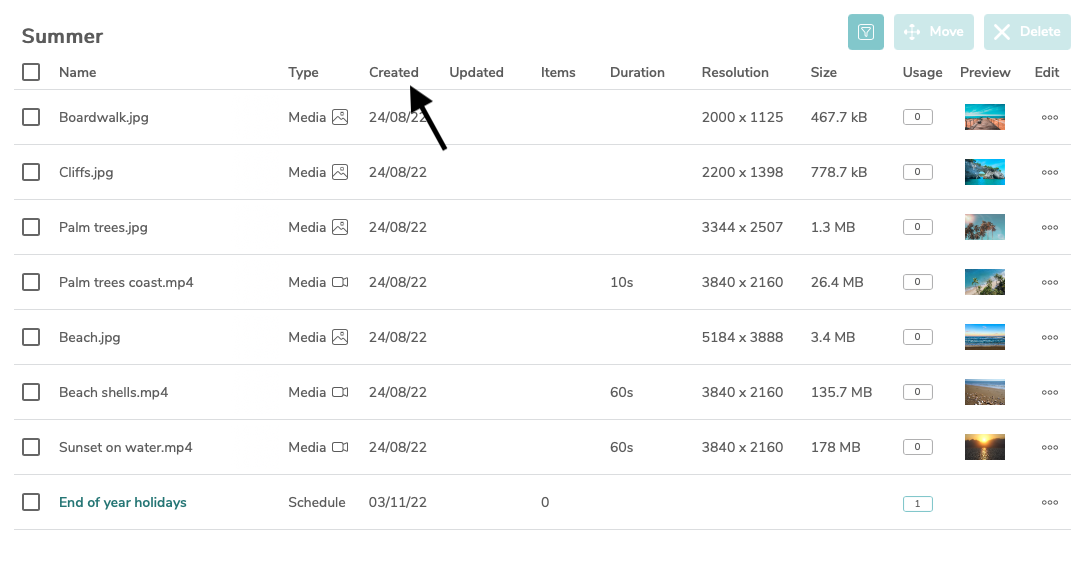
Created
- this displays the date the item was created
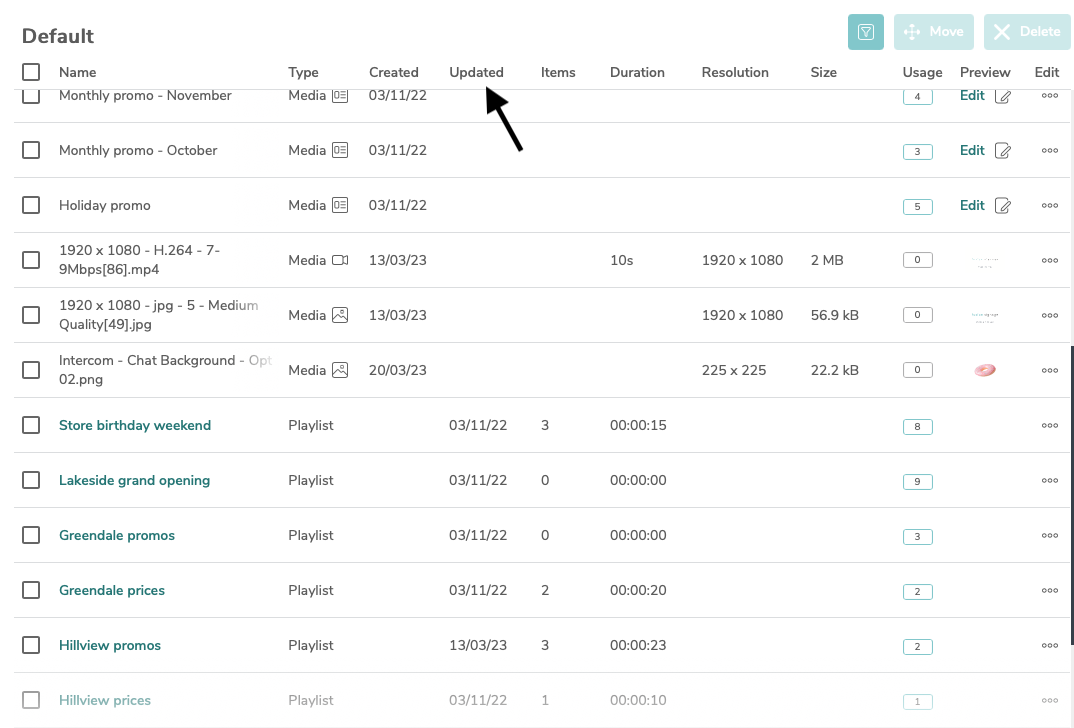
Updated
- here you’ll see the date the item was last updated
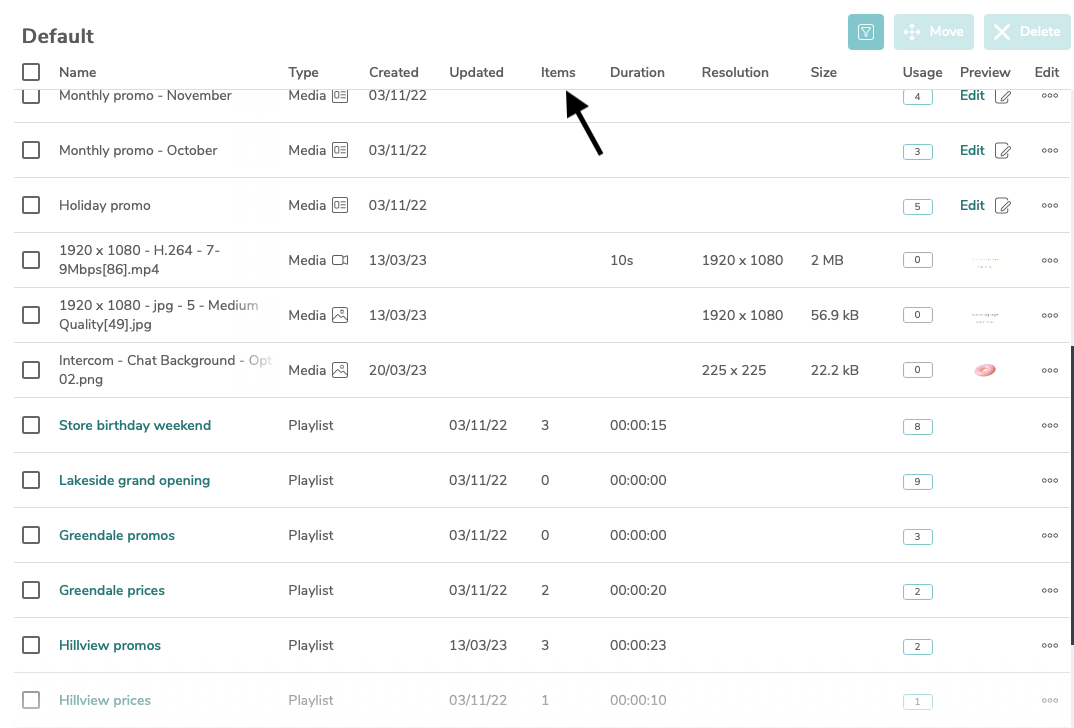
Items
- this shows you how many Media files are in the Playlist, or how many Playlists are in the Schedule
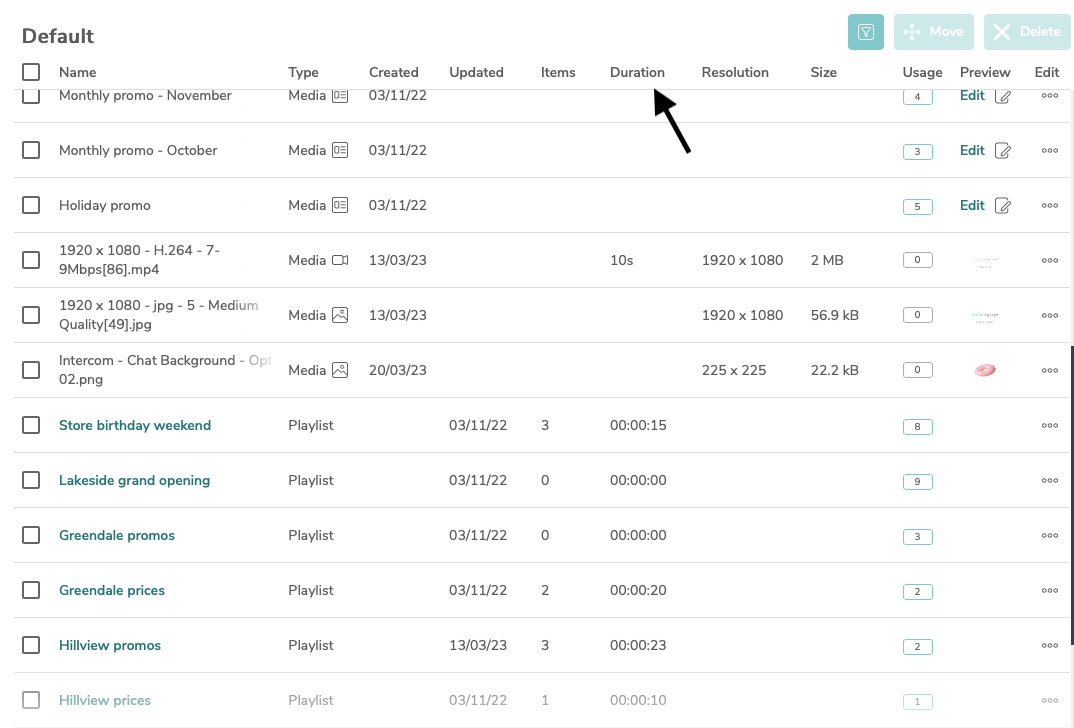
Duration
- AKA the length of the video media file or the length of the entire Playlist
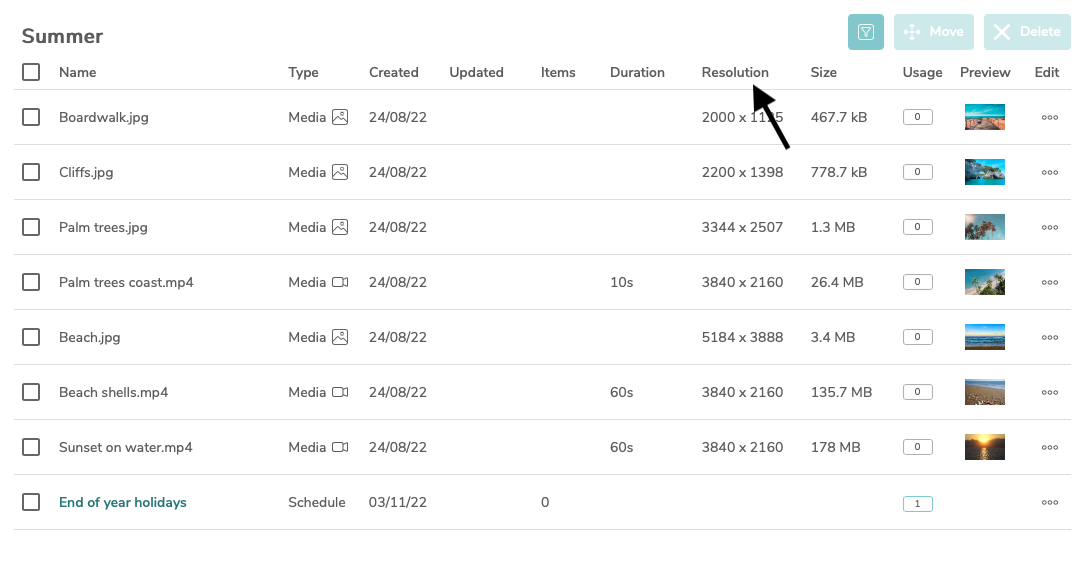
Resolution
- here you’ll see the resolution of the Image or Video media file
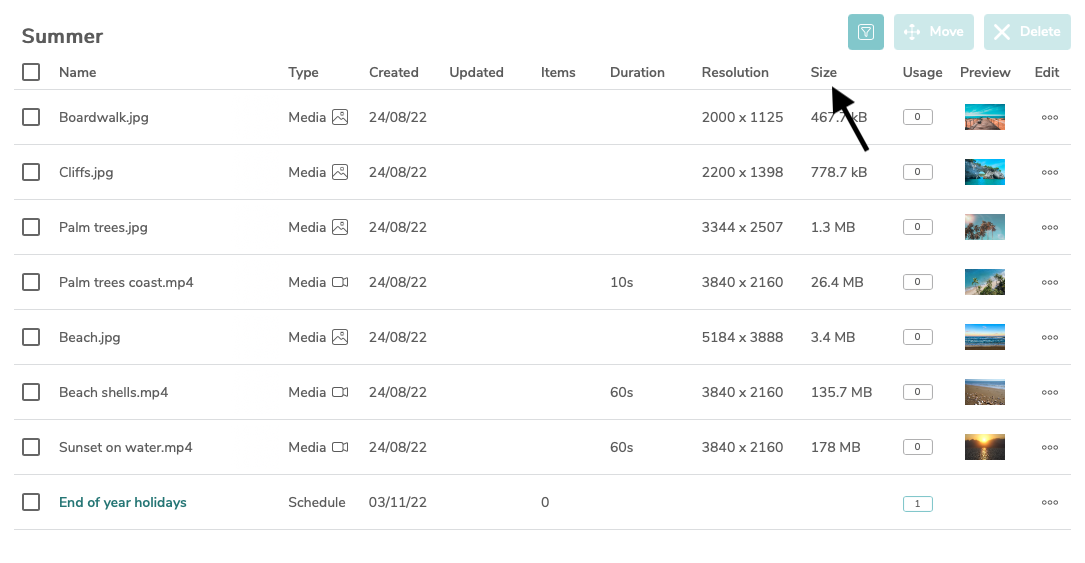
Size
- this shows the size of the Image or Video media file
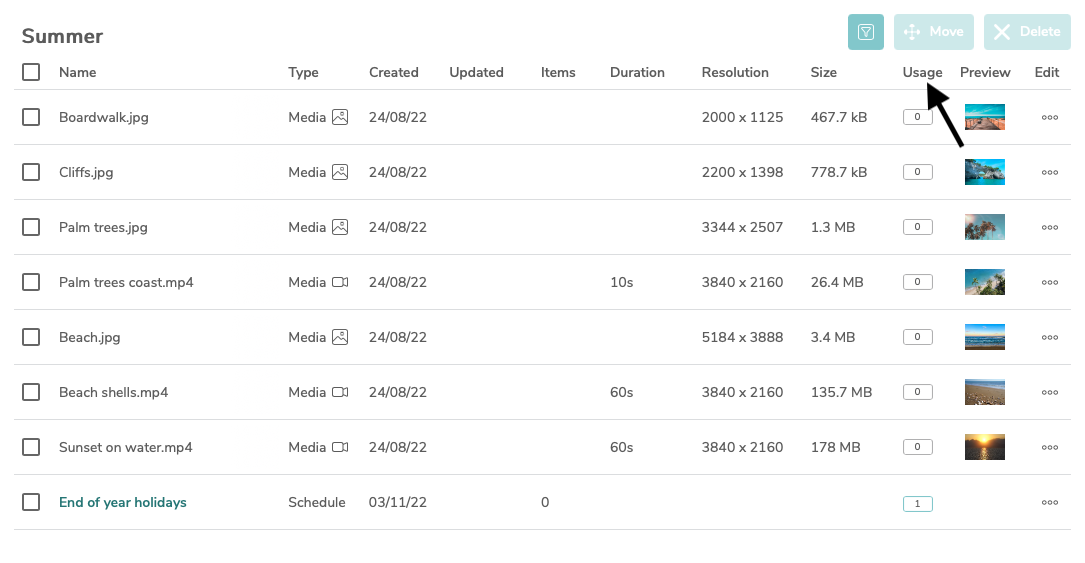
Usage
- this displays how many Screens, Playlists and Schedules the item appears in, and where
Preview
- this shows you a preview of the Media item. By hovering your mouse cursor over the image, it’ll enlarge for a better preview

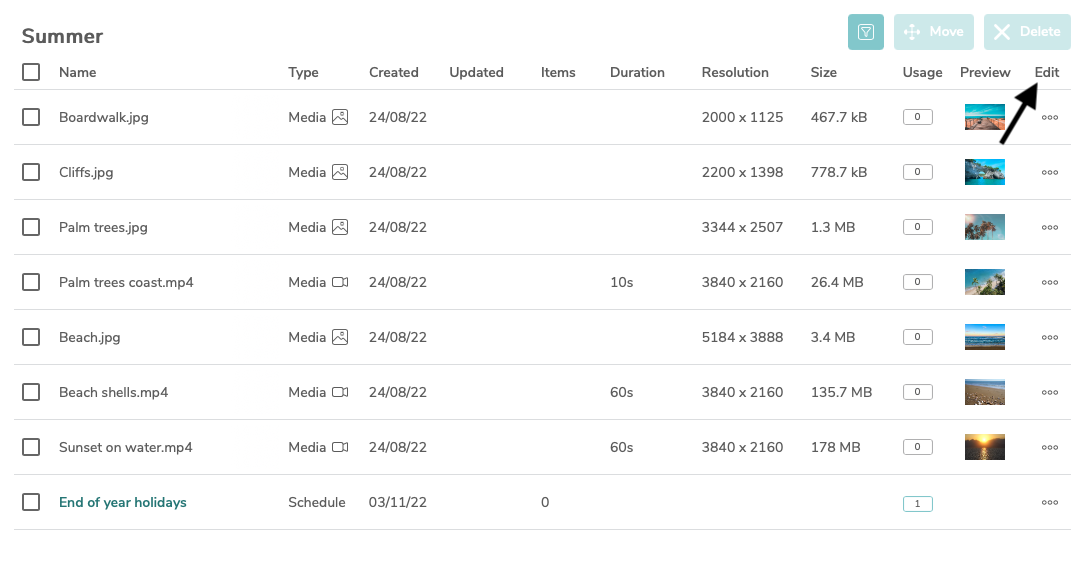
Edit
- this gives you access to type-specific editing tools
Playlists and Schedules can both be assigned to a Screen, but Media needs to be added into a Playlist first. If you have an Advanced or higher licence, you can even add other Playlists into your Playlist! We call these ‘nested Playlists’ which is quite a cute visual, don’t you think?