Playlists
Creating a New Playlist
To create a new Playlist from within the Manage section, follow these steps
- Make sure you're in the Manage section (check the far right side of your portal).
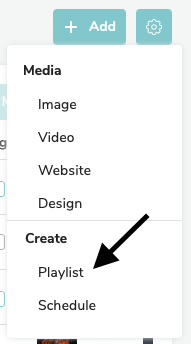
- Click Add in the top right and select Playlist from the drop-down menu that appears.
- Give your Playlist a name and click Create Playlist

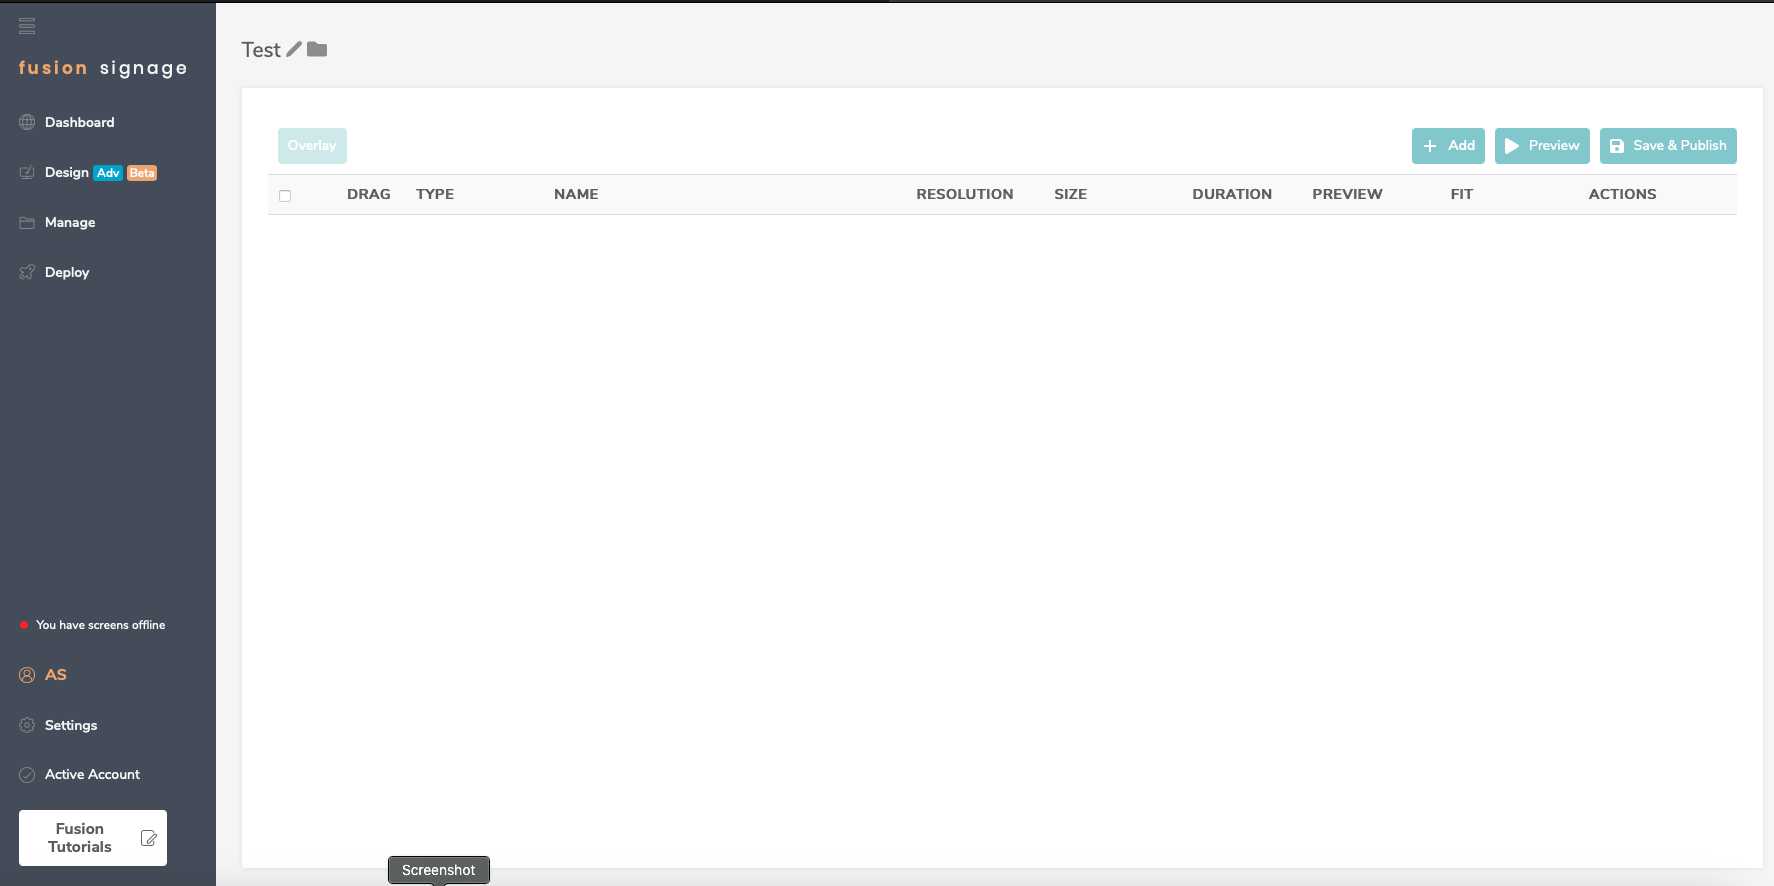
You’re now in the Playlist Editor. Talk about fast transport!
Adding Content to a Playlist
From the Playlist Editor, follow these steps
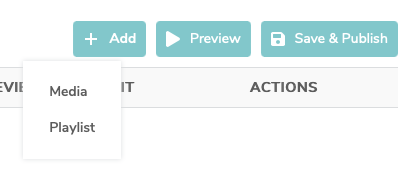
- Click Add
- Select Media
- Choose the Media you wish to display in that Playlist. You can do this either by browsing the files on your computer, dragging and dropping, or selecting the Media you have used previously (which will appear under the drop box)

- The Media files you select are automatically added into the Playlist. Then, once you have selected all the files you want, press the X button to close the Add Media pop-up
You can also add a premade Playlist within a new Playlist (which we call a nested Playlist). To do this, click Add, then select Playlist instead of Media. Any changes to the Playlist you add will be updated everywhere, making content changes both quick and easy!
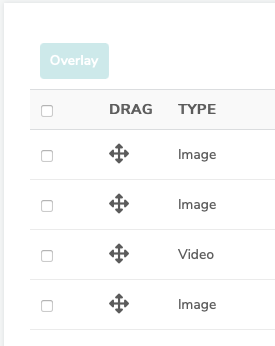
Organising Content
Once the media files have been added to the Playlist, you can personalise how they appear within the Playlist.
- Rearrange the order that Media appears by click and holding the arrow button under the drag column. Then, simply drag and drop to your desired position
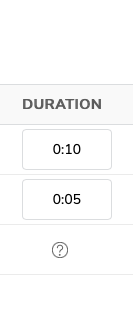
- Set a duration on images, websites and designs by clicking the box under the duration column and changing to your desired length (in the format of hh:mm:ss). These will initially be set at a default duration – which can be changed by clicking the Default Settings button on the Manage page
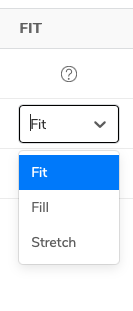
- Choose the fit/fill/stretch option to help your content fit your screen. This can also be customised within the Default Settings section
- Select multiple items to update them all at once using the options in the top right. Clever!
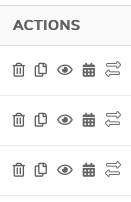
Actions
You’ll find Action on the right. These will vary slightly depending on your licence type. You can duplicate, show, hide (to temporarily stop it from playing) or delete an item from the Playlist (this doesn’t remove it from your media library).
Another option here is to replace. This allows you to swap out a media file with another, while maintaining any content-level scheduling you’ve set up.
Content Level Scheduling (Advanced and Pro licence)
Content-level scheduling allows you to schedule an individual media file, meaning it’ll only appear in the Playlist at certain times. You can specify the days of the week, start and end time, as well as start and end date. Feel free to add as many Schedules as you like, and apply them to single or multiple files
Publish Playlist
When you’re ready, hit Preview and choose landscape or portrait to see how your Playlist will appear. If you’re happy, click Save and Publish.
If you’re not ready to assign it to a Screen yet, just click Save. Otherwise, use the dropdowns to assign it to a Screen or Screen Group.
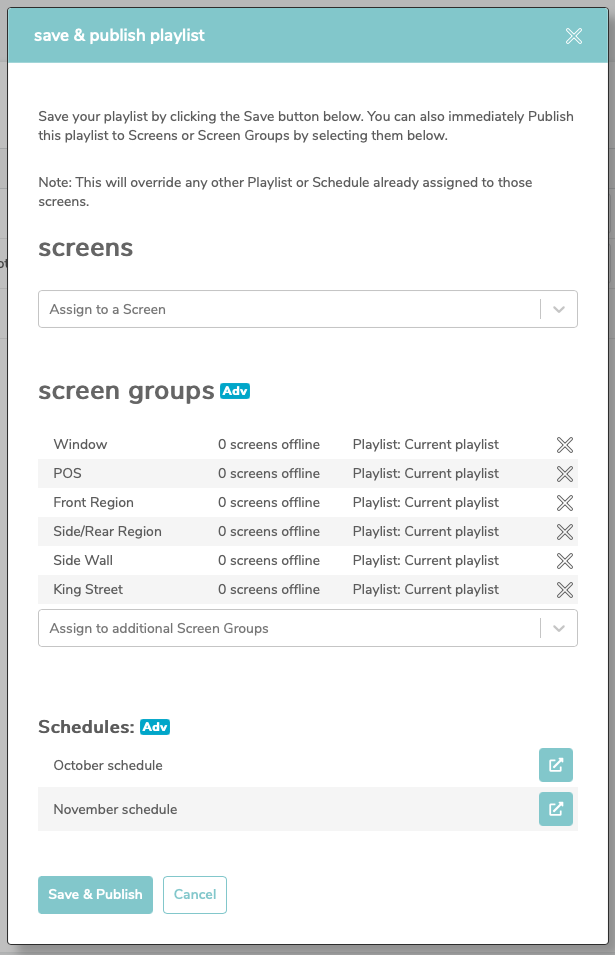
You can see the current online status of your Screens, as well as the Playlist or Schedule that you’re going to override (if one was already showing at that time and date on your chosen Screen/s).
Click Save and Publish. After a few seconds, your Screen should be updated with the new content.
If your Screen is offline, that means our server is unable to communicate with our application running on your Screen. 99% of the time, this is due to an internet connection issue. Check your device or try these steps.